Got a new Chromebook? You need these 25 tips and tricks!
Millions of people use Chromebooks, but despite their simple and "for everyone" nature, not every power feature is easy to access. All the best Chromebooks are powerful tools that are just waiting to be used to their full potential, and once you know a few techniques, you'll feel like you're getting even more value out of your inexpensive computer. We've rounded up 25 Chromebook tips and tricks for you to try so that you can start making the most of your machine.
1. Use third-party DNS
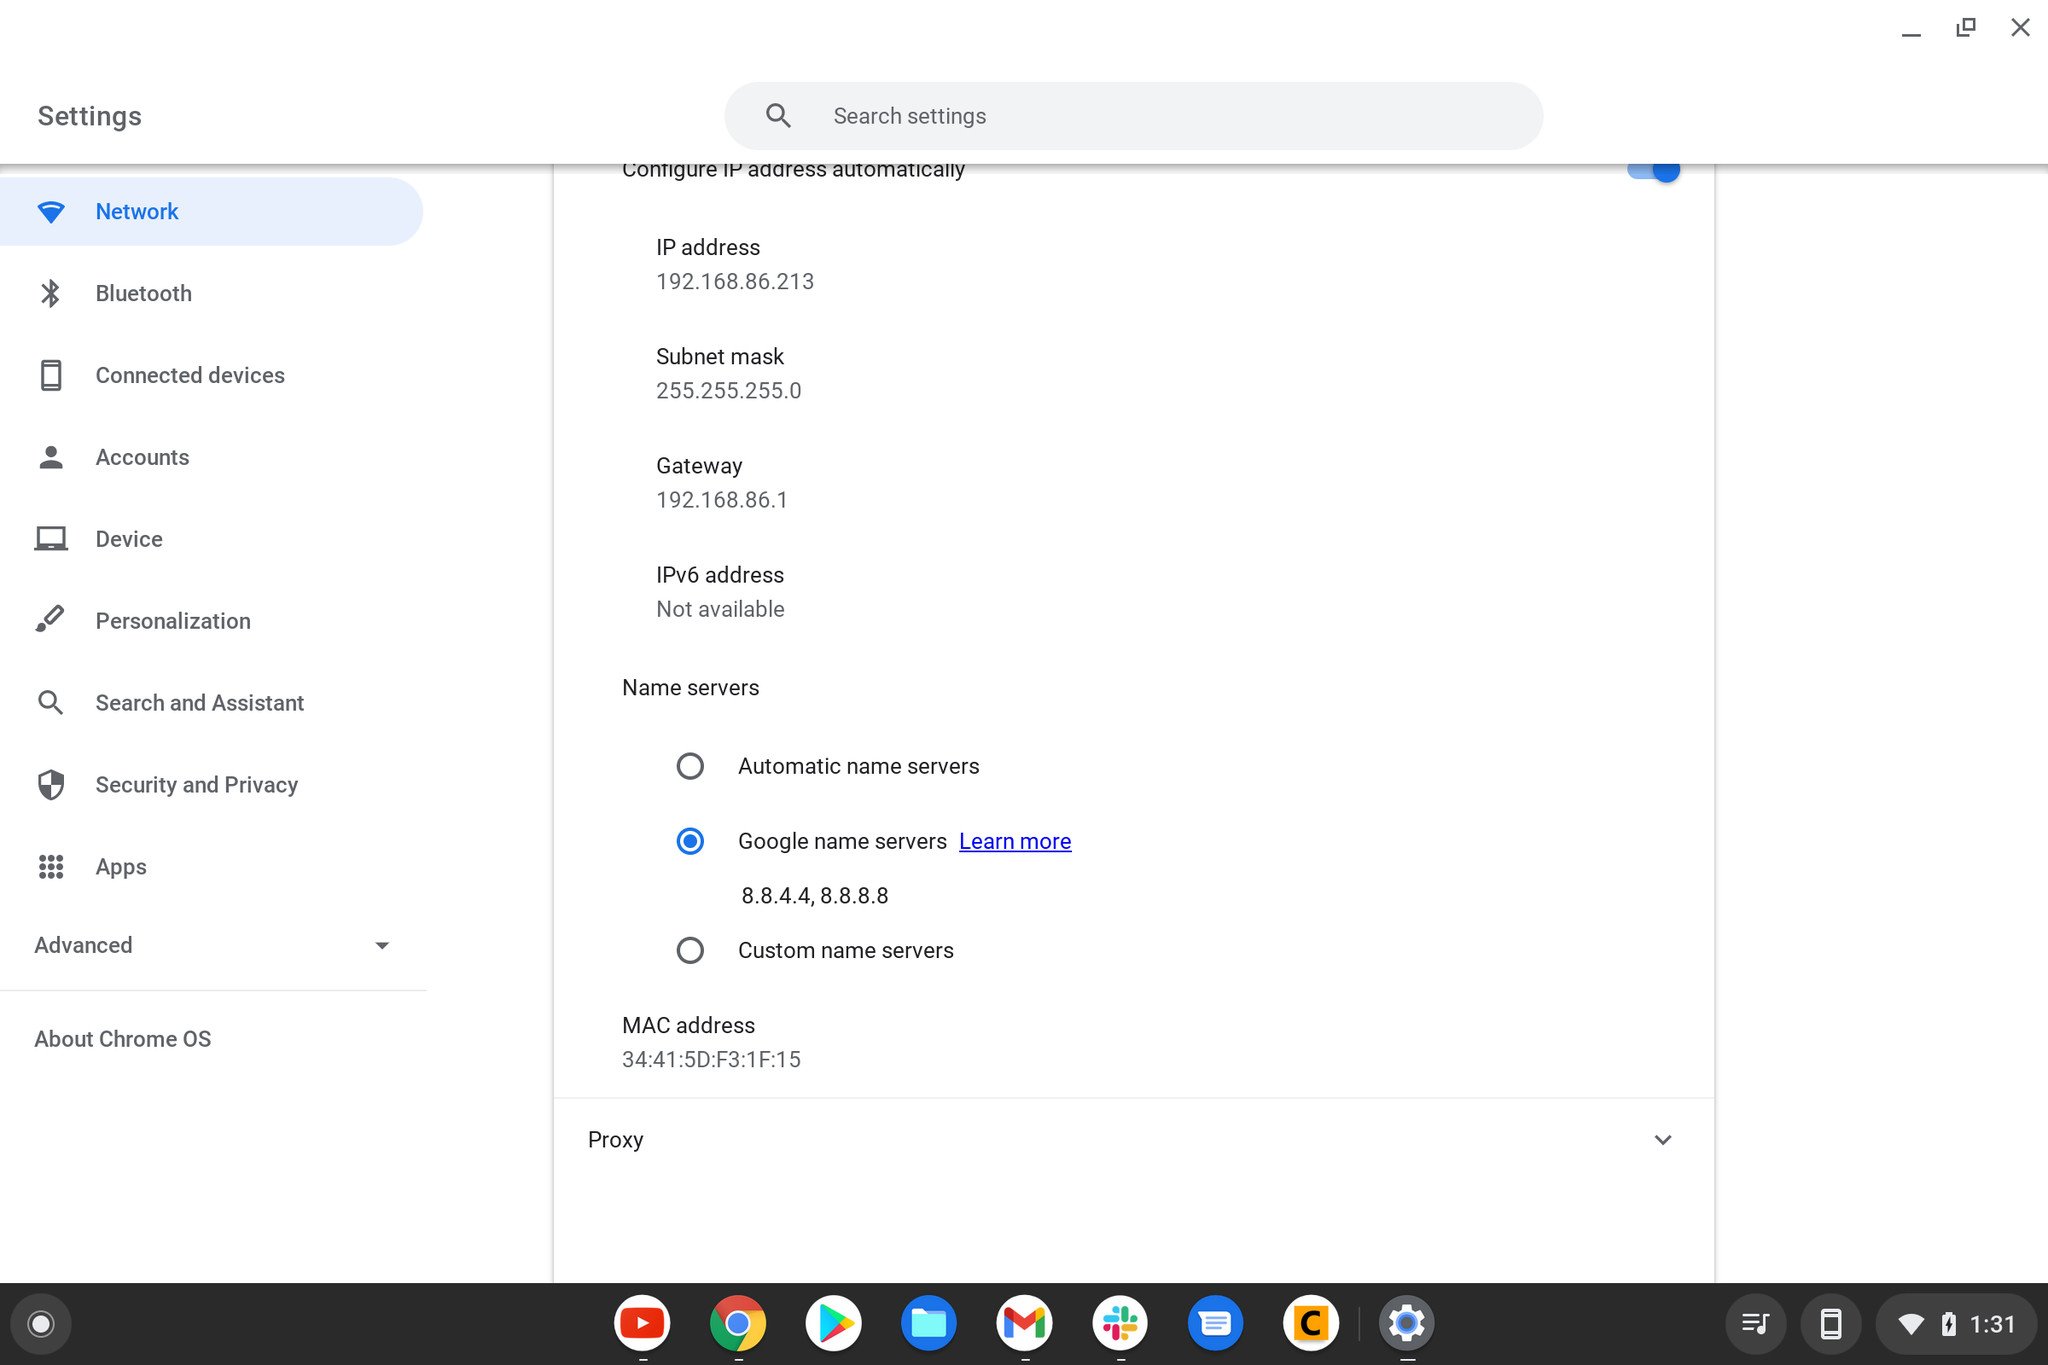
When you're on the web, there are many reasons to use third-party DNS (Domain Name Server, or the sort of "address book" for the Internet). Some say they are faster; some claim they are more secure, and using one is a great way to get around any silly content blocks that may be in place on the servers of the people who provide you your Internet.
Using them on your Chromebook is easy. Open the settings page, and click on the name of the network you want to change. In the window that comes up, choose the network tab. At the bottom, you can choose which name servers to use. You'll see automatic and Google options, or you can enter some manually if you know specifically what you want.
2. Type Unicode characters
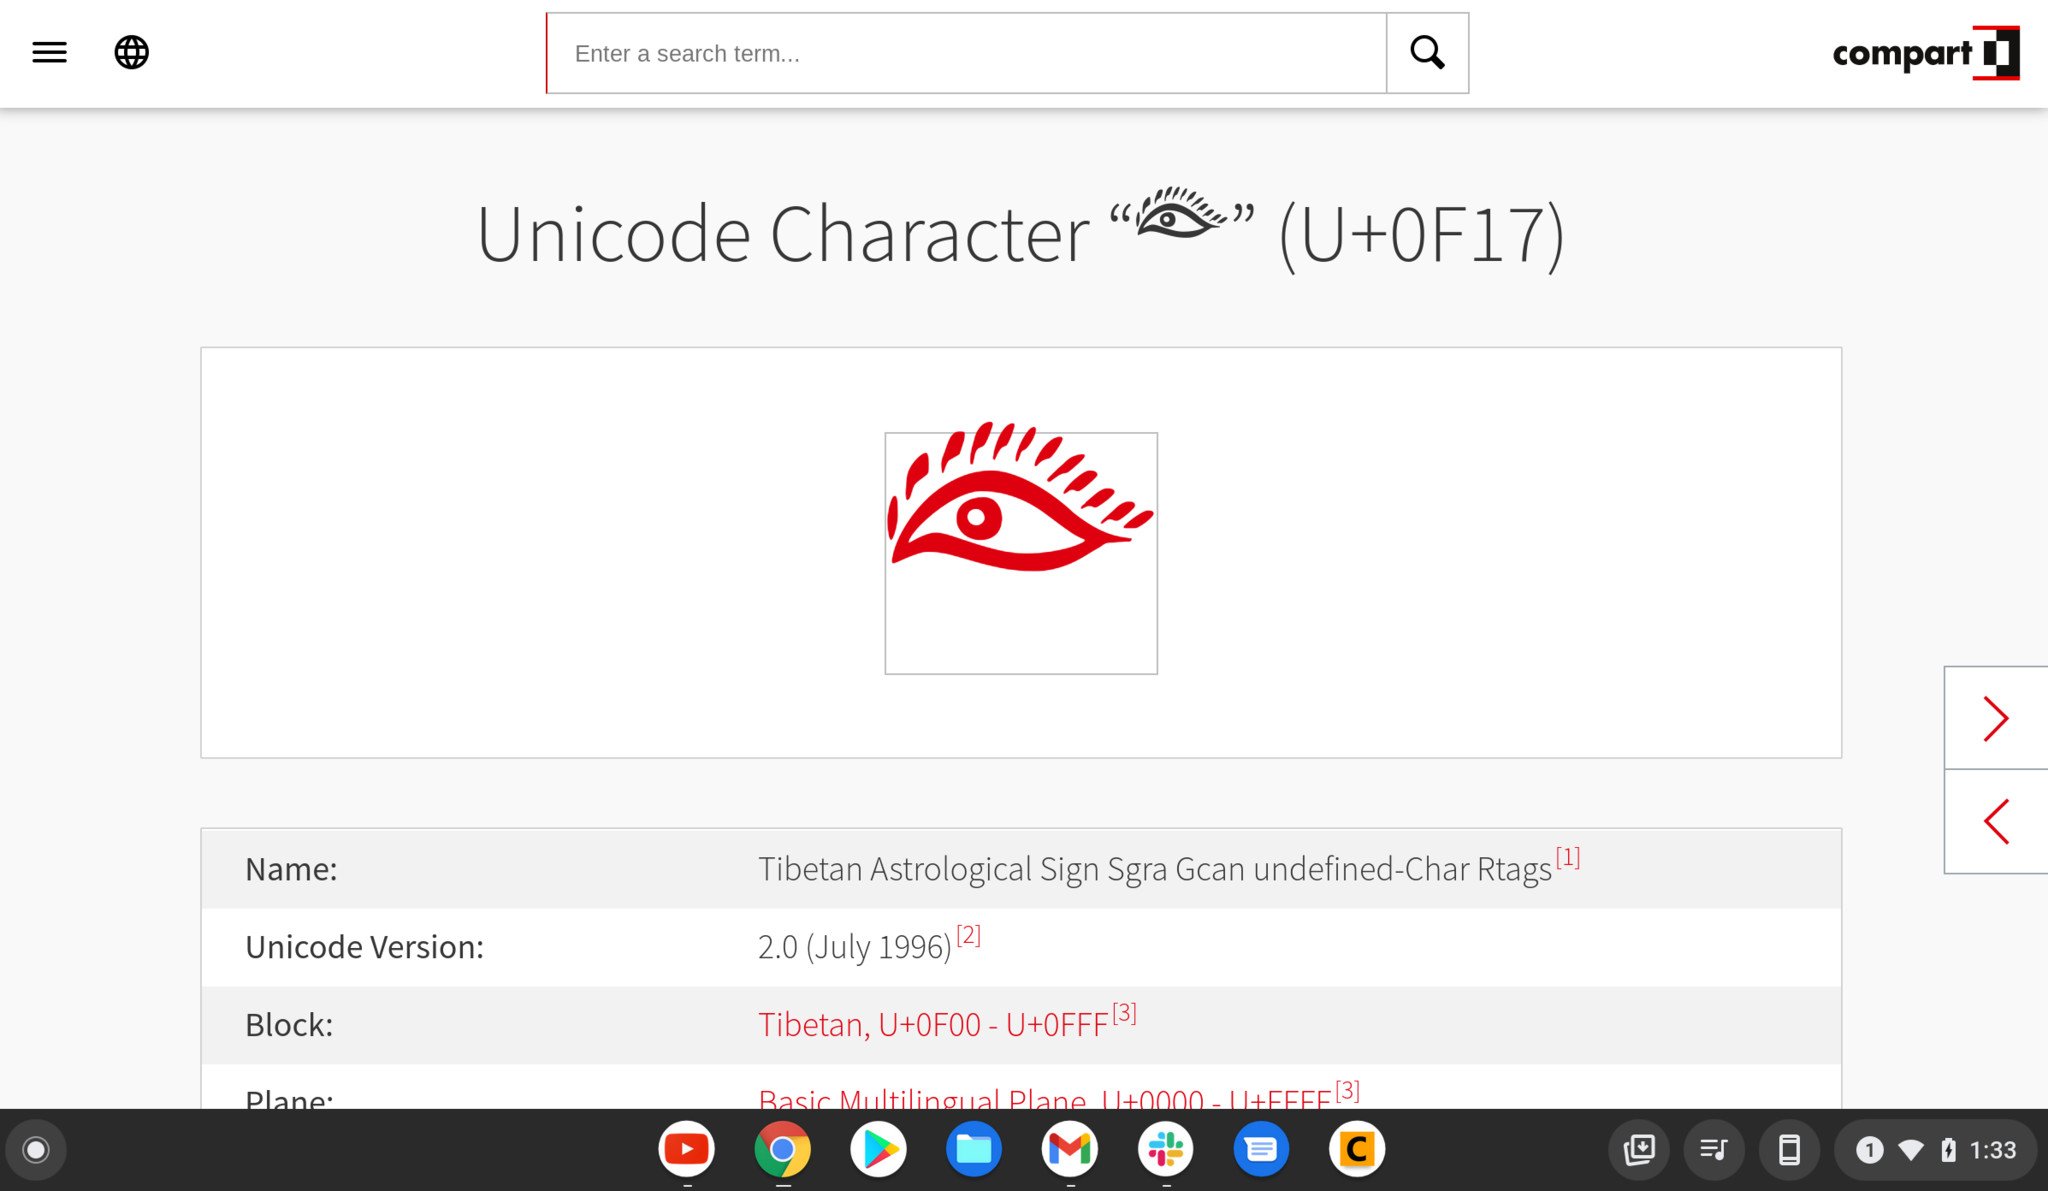
Your Chromebook has a full keyboard, but sometimes you want to type a character that doesn't have its own key, like æ or Ü or ʓ or even string them together for the perfect look of disapproval ಠ_ಠ. To do it, you'll need to type what's called a Unicode character.
Knowing what the Unicode characters are isn't something you'll be memorizing (here's a cheat sheet), but once you know the Unicode number, typing them is easy. Just press Ctrl + U + the number, and they'll be inserted in place.
3. Use Chrome overview
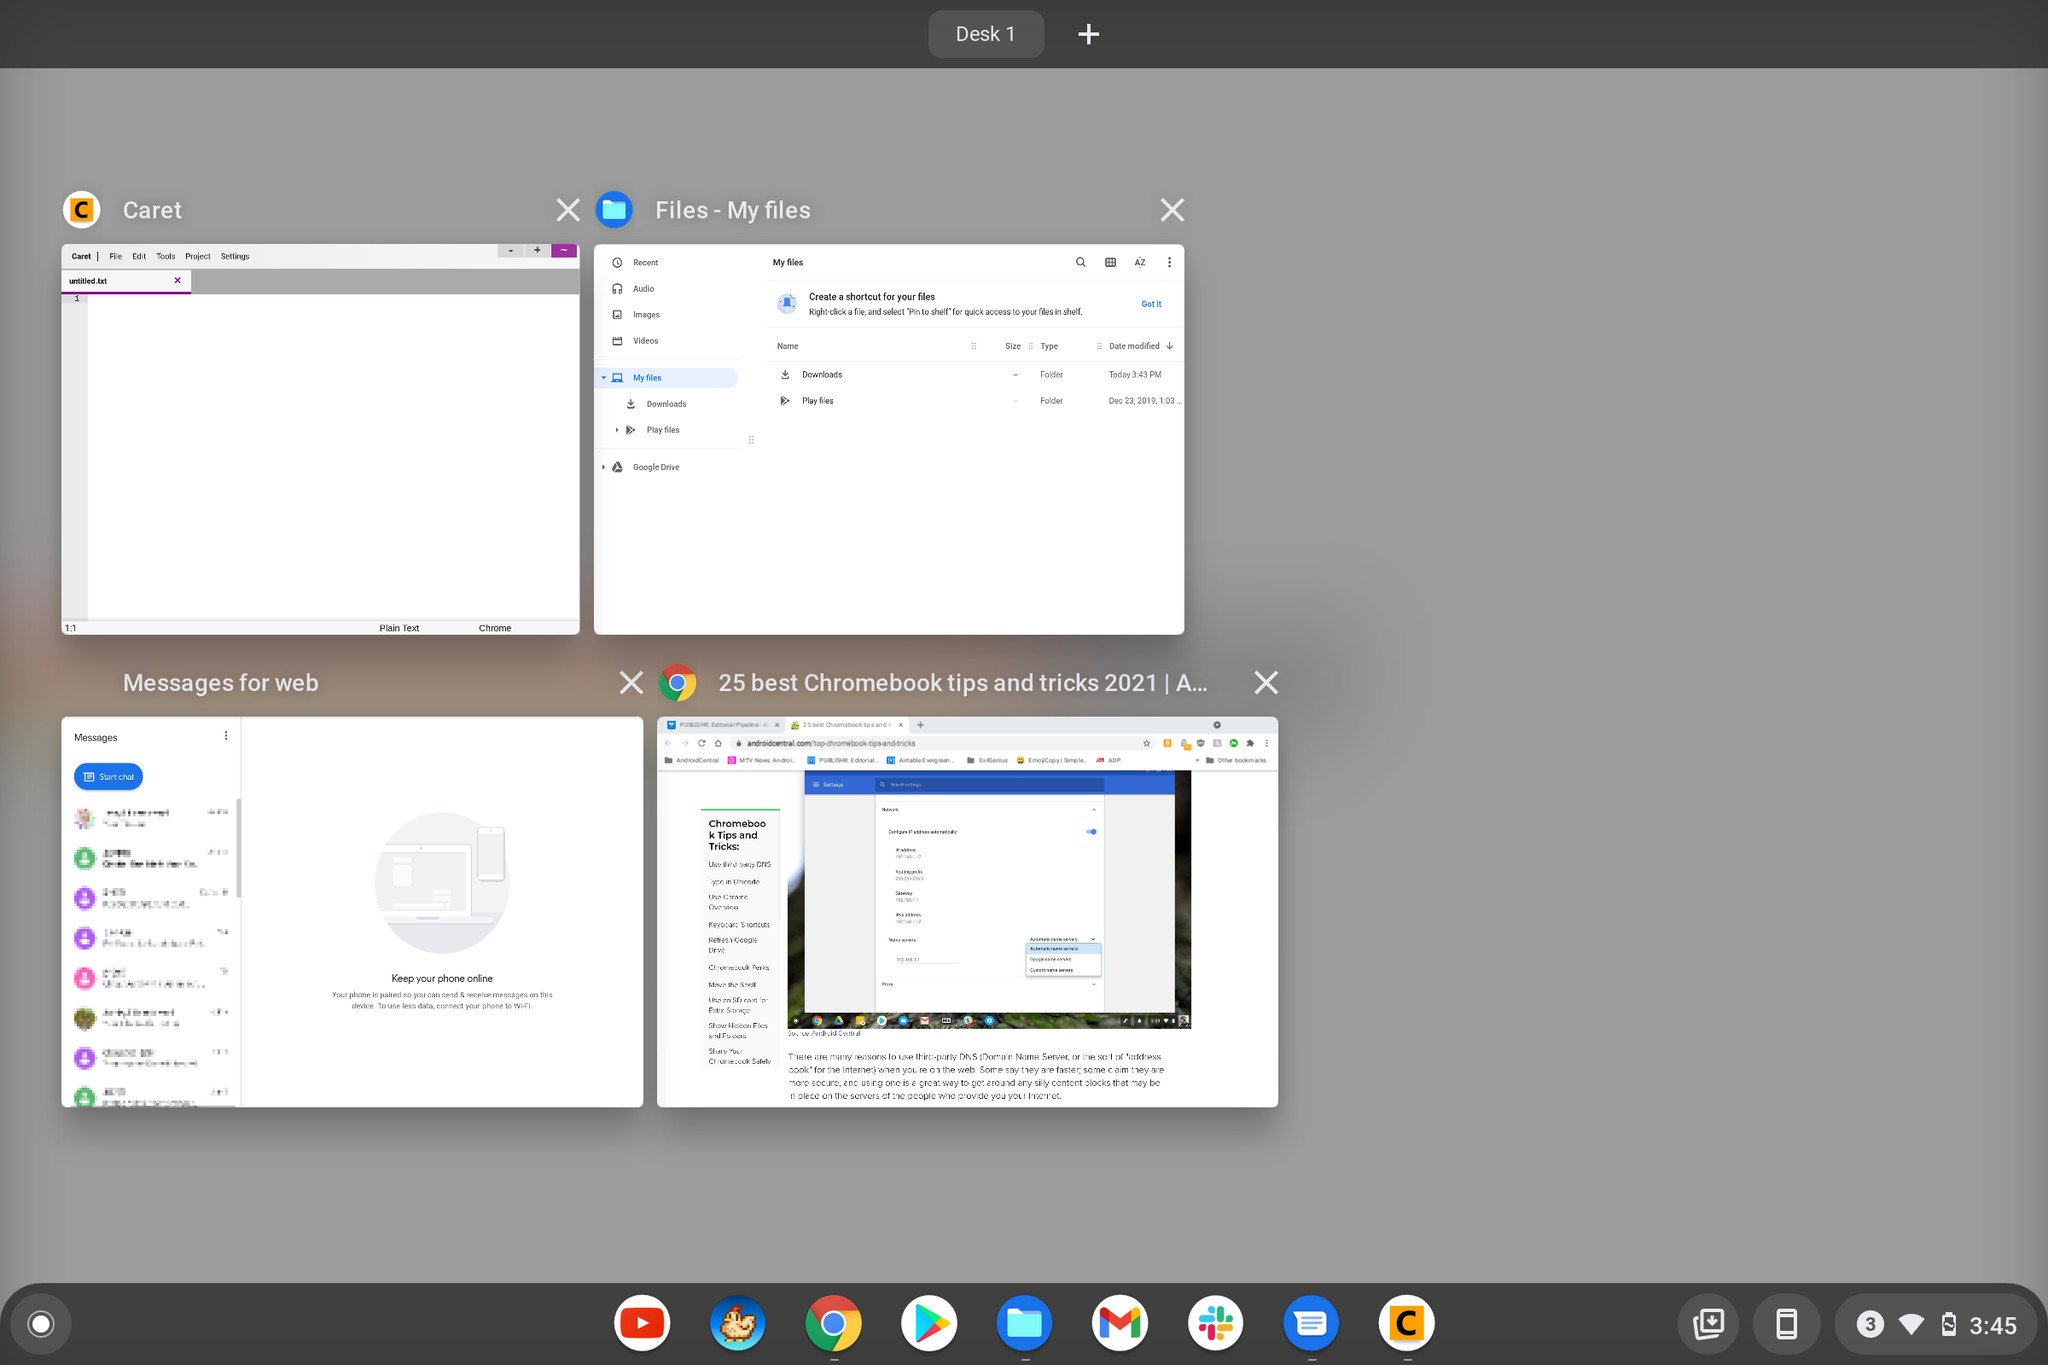
There is a built-in overview mode on your Chromebook that lets you see every open window at a glance. If you've ever used a Mac, this is just like Expose. It's also just as useful!
On the top row of the keyboard, just press the [ ] || button (above the 6 key) or swipe down from the top with three fingers on your trackpad or touchscreen to go into the overview. Clicking any of the thumbnails will open that window, and clicking in a blank space will return you to the last window you were viewing. If you find yourself with a lot of windowed apps running all the time, this is a great time-saver.
As a bonus, while in overview mode, you can type to filter what you're seeing. For example, typing "Google" will only show windows with the word Google in the title.
4. See all of your keyboard shortcuts
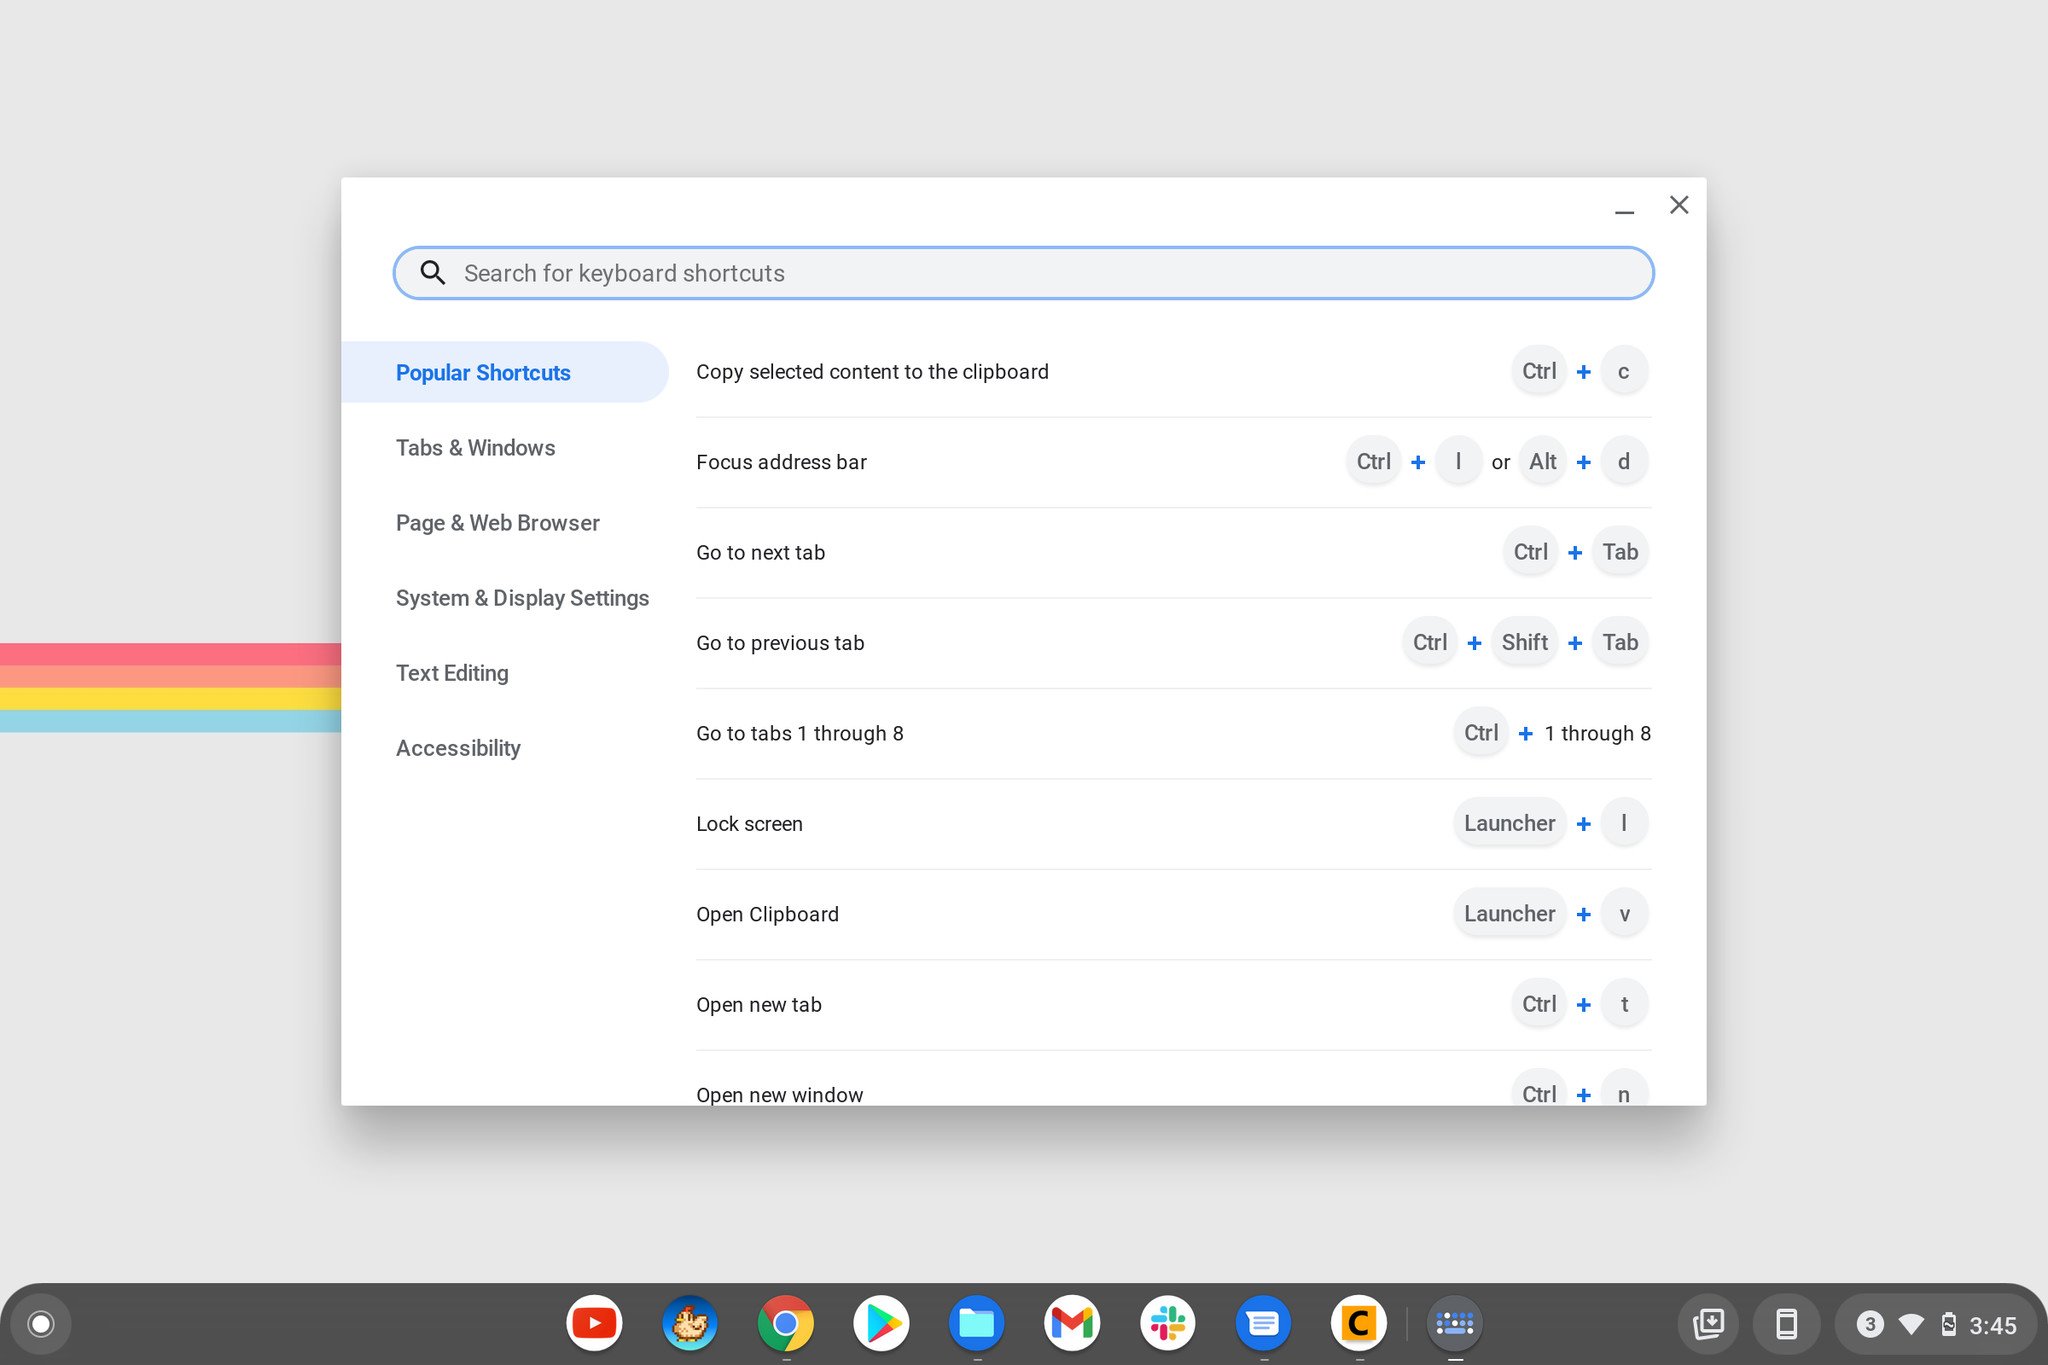
By now, you know that Chrome OS is full of handy keyboard shortcuts for things like reloading a page or going to your home page in the browser. In fact, there are so many that it's almost impossible to keep track of them all. Finding out just what you can do so you know which ones to remember is easy.
Press Ctrl + Alt + ?, and you'll see a list of all keyboard shortcuts. Soon you'll be a pro and Shift + Alt + L-ing and Alt + Shift + B-ing all over the place.
5. Refresh your Google Drive cache
Chromebooks can use Google Drive as extra storage, and it acts the same as the local storage does. If you know there is a change in your saved Google Drive files but don't see it, you can manually refresh your Chromebook's local Drive cache.
In the Omnibar, type chrome://drive-internals/ and click the Clear local cache button, and the next time you open the file manager, you'll sync again.
6. Take advantage of the Chromebook perks
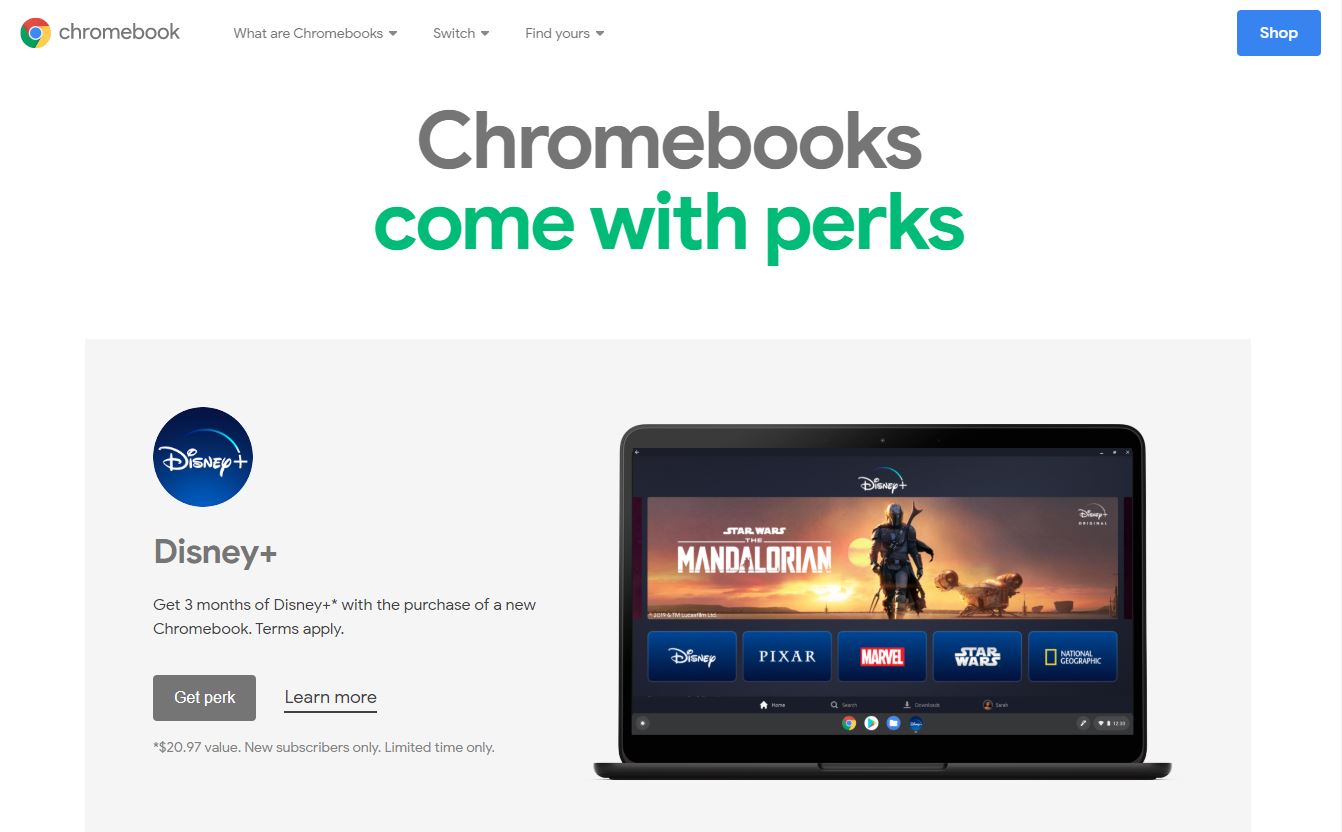
Part of the value of a Chromebook is in the extras you get along with your purchase. When you buy a computer running Chrome OS, you don't just get a computer — Google throws some freebies your way as well. After buying your Chromebook and getting logged in, be sure to head to the Chromebook Perks Page to pick up these offers:
The offers expire 60 days after you first associate a Google account with your Chromebook, so make sure to use them before they run out. They also change from time to time, but you'll always find things worth grabbing like free games and apps, extended subscription trials, and even savings on hardware like storage drives.
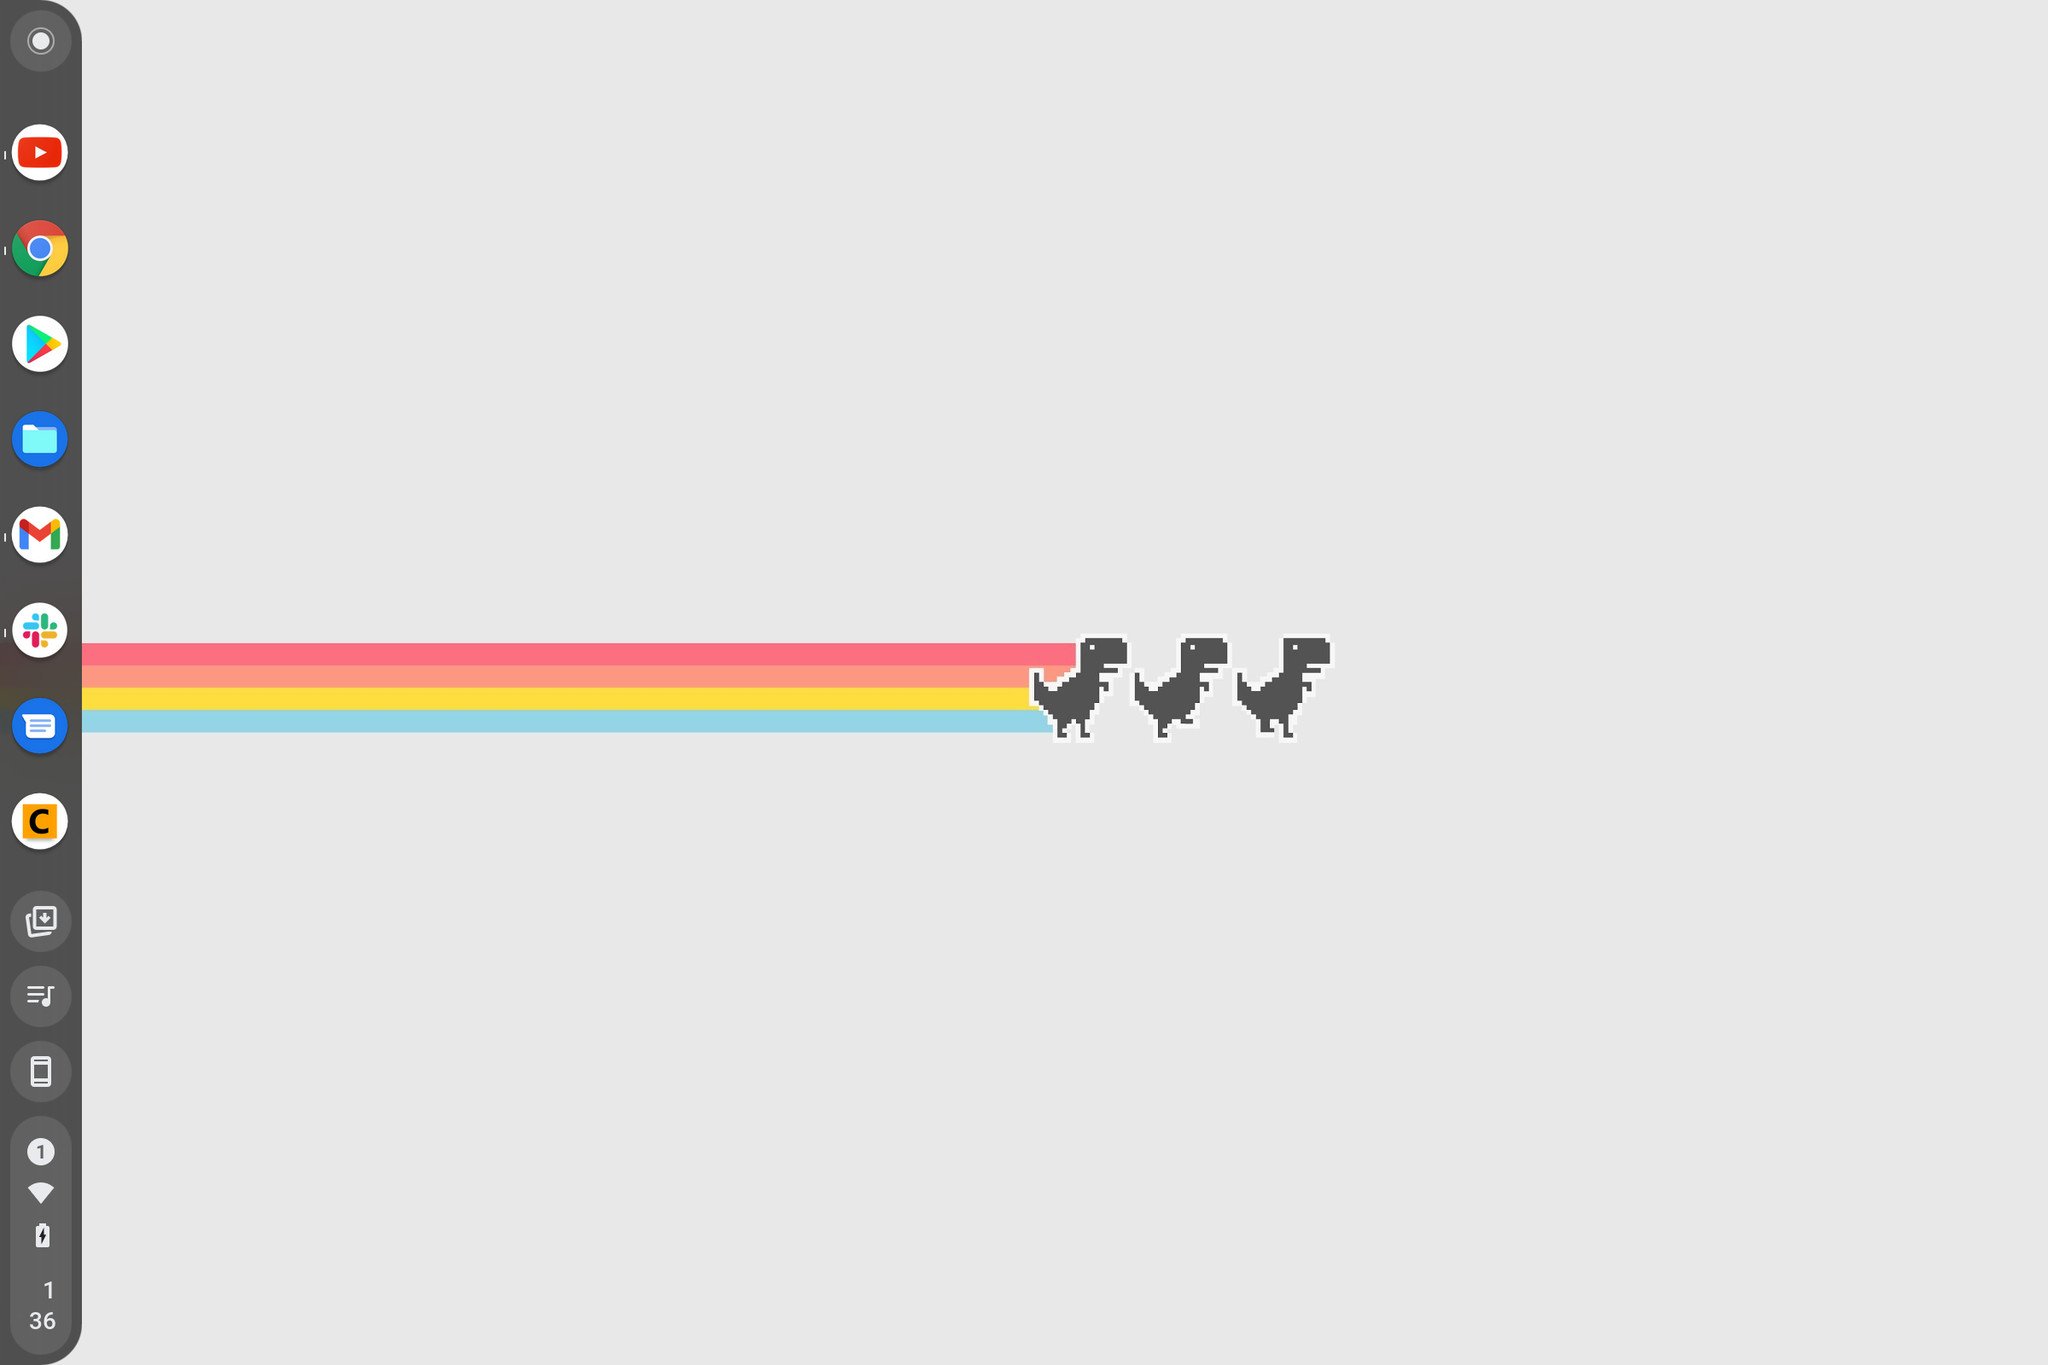
7. Change your shelf position
By default, your Chromebook's shelf (the taskbar) is along the bottom of the screen, but you can also set it on the right or left side.
Just right-click on it and pick the Shelf position menu for your settings.
8. Use an SD card for extra storage
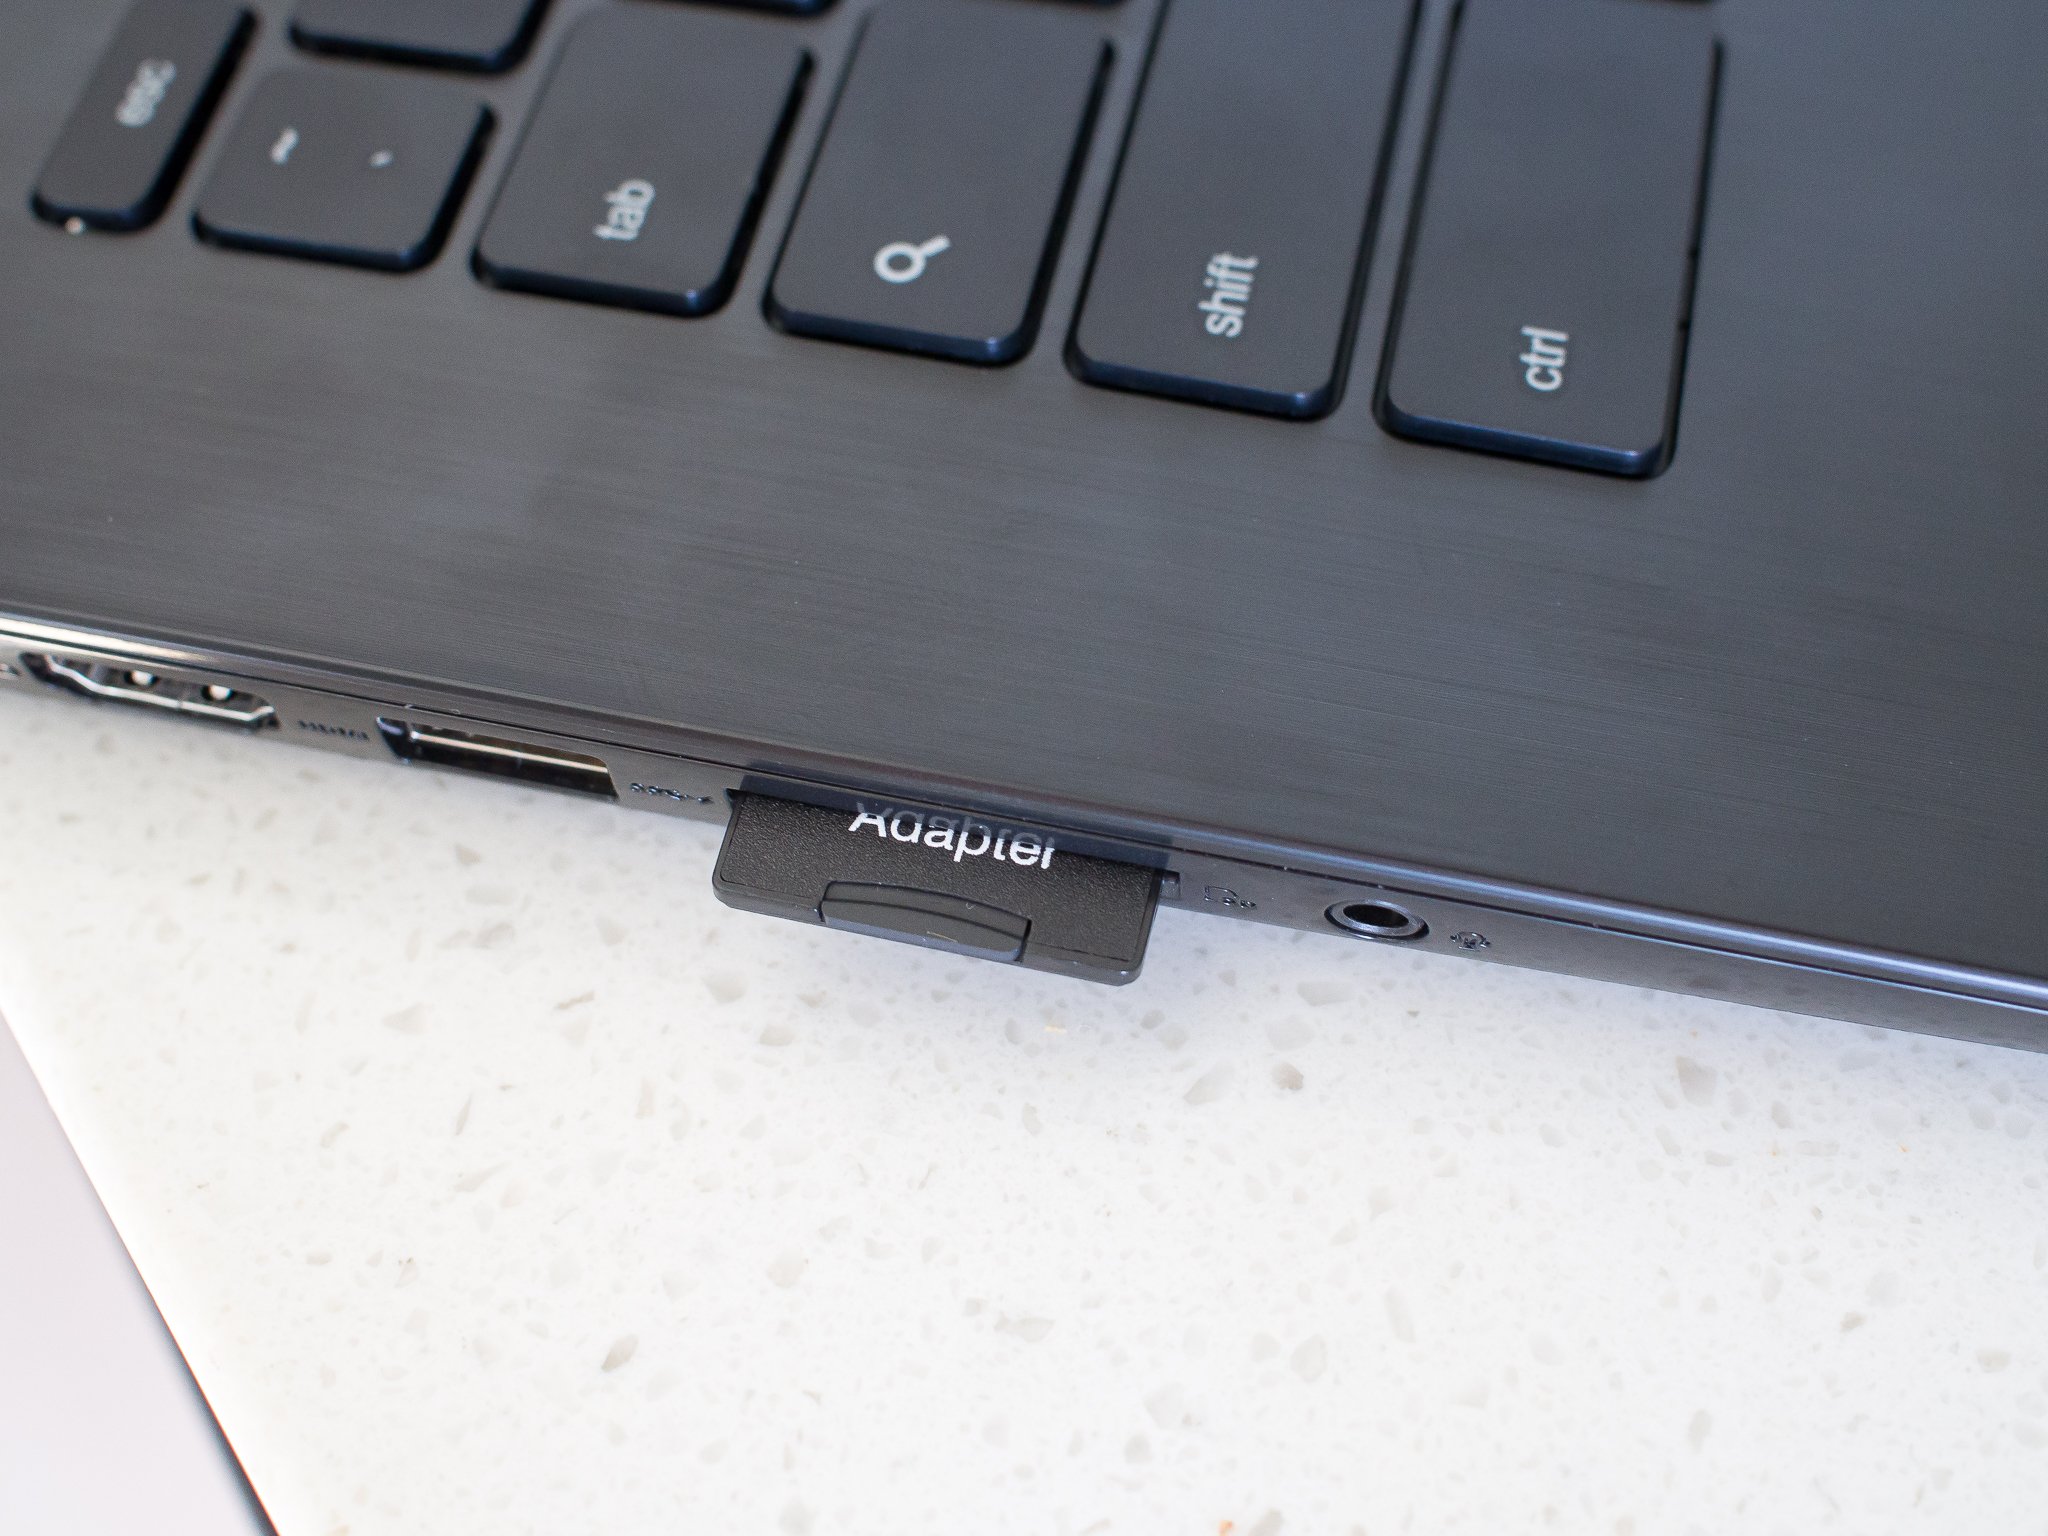
Most Chromebooks offer an SD card slot of some kind — be it microSD or standard. While the SD card slot helps transfer pictures off your camera and get them up to Google Drive or moving files between computers, it may be most beneficial for many people as semi-permanent external storage.
Because you'll often have no more than 32GB of internal storage (unless you feel like upgrading that yourself) on your Chromebook, you may find yourself wanting more. Pop a 64GB SD card into your Chromebook and use it just like you would the local or Google Drive storage. The SD card shows up in the Files app, just like another folder, where you can use it any way you'd like.
9. Show hidden files and folders
The file manager hides folder and file names that start with a dot (like .Filename, for example), and you usually can't see them. These are usually files and folders you don't want to edit unless you know what you're doing.
If you want to see hidden files, open the File Manager and press Ctrl +. (period) and they'll appear along with your other files and folders.
10. Share your Chromebook — safely
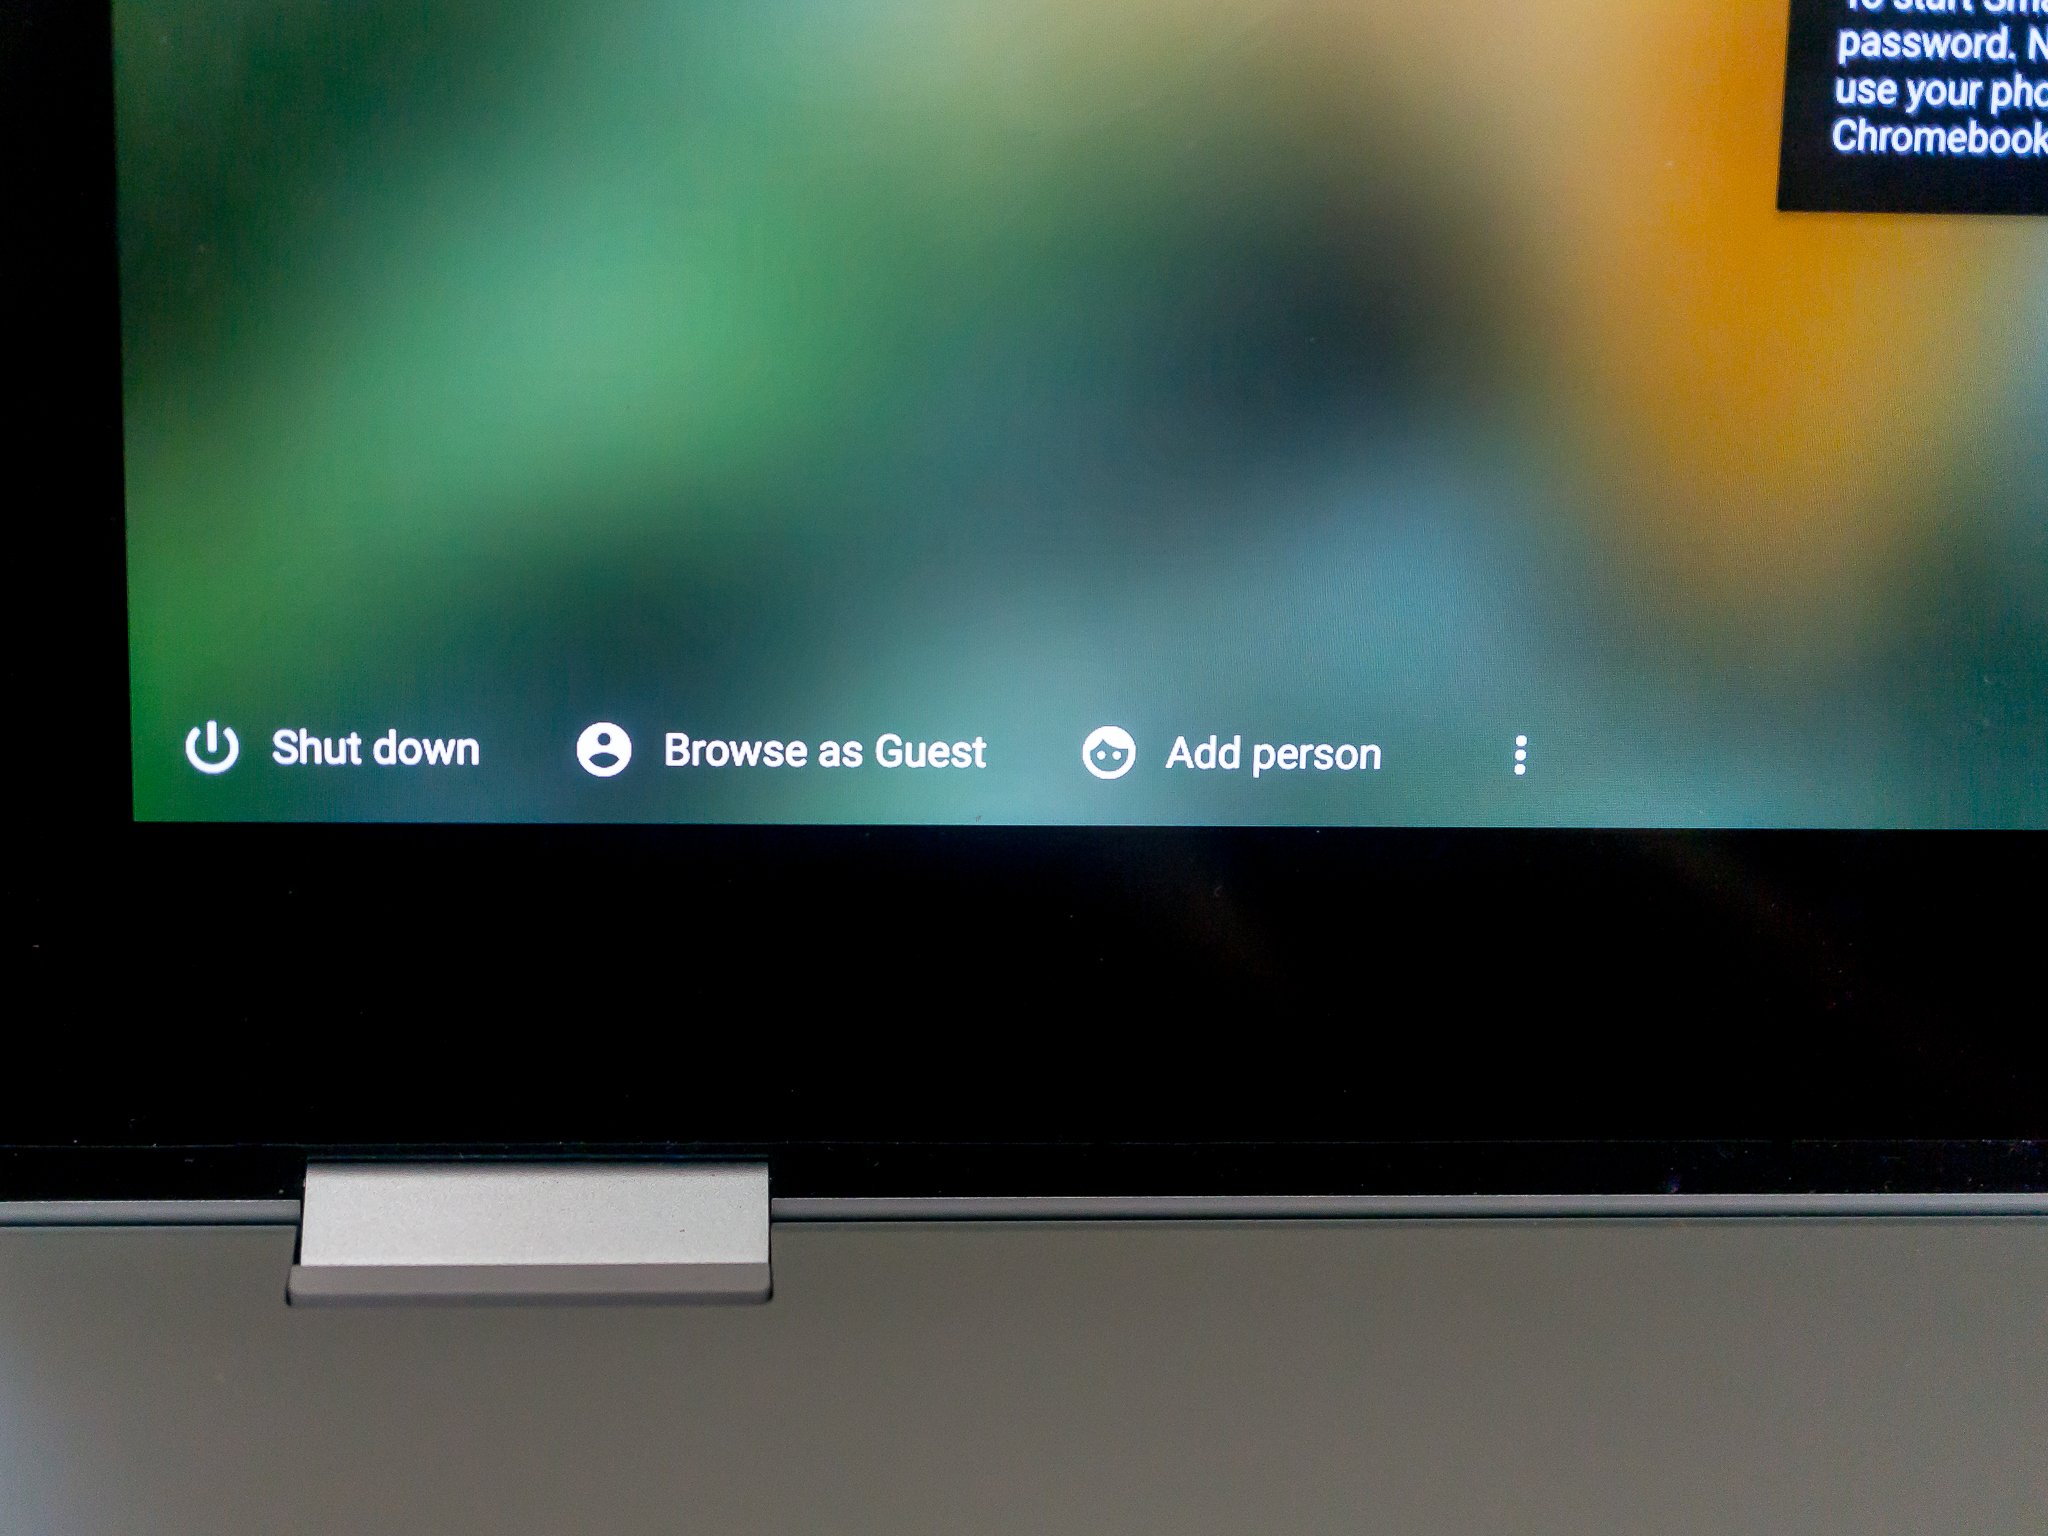
When you first set up your Chromebook, it feels like it's just locked to your own personal Google account, but one of the perks of Chrome OS is the ability for any machine to work with any Google account. So when you're on the lock screen of your Chromebook, you can click "Sign out" in the bottom left corner and let someone else sign in with their own Google account. They won't have access to your main account, and all of their previous activity on any other Chrome device will be set up on this new machine in its own profile.
If you just want to hand your Chromebook to someone else for a quick bit of research or something simple, use the guest mode from the lock screen. Nothing done in the guest mode will be tied to your Google account, and everything will be completely erased as soon as the guest account signs out.
If you'd prefer to lock down your Chromebook so only specific people (or just you) can sign in, head into the settings menu, and under the Users area, you can restrict sign-in on the device to only specific accounts.
11. Do a barrel roll
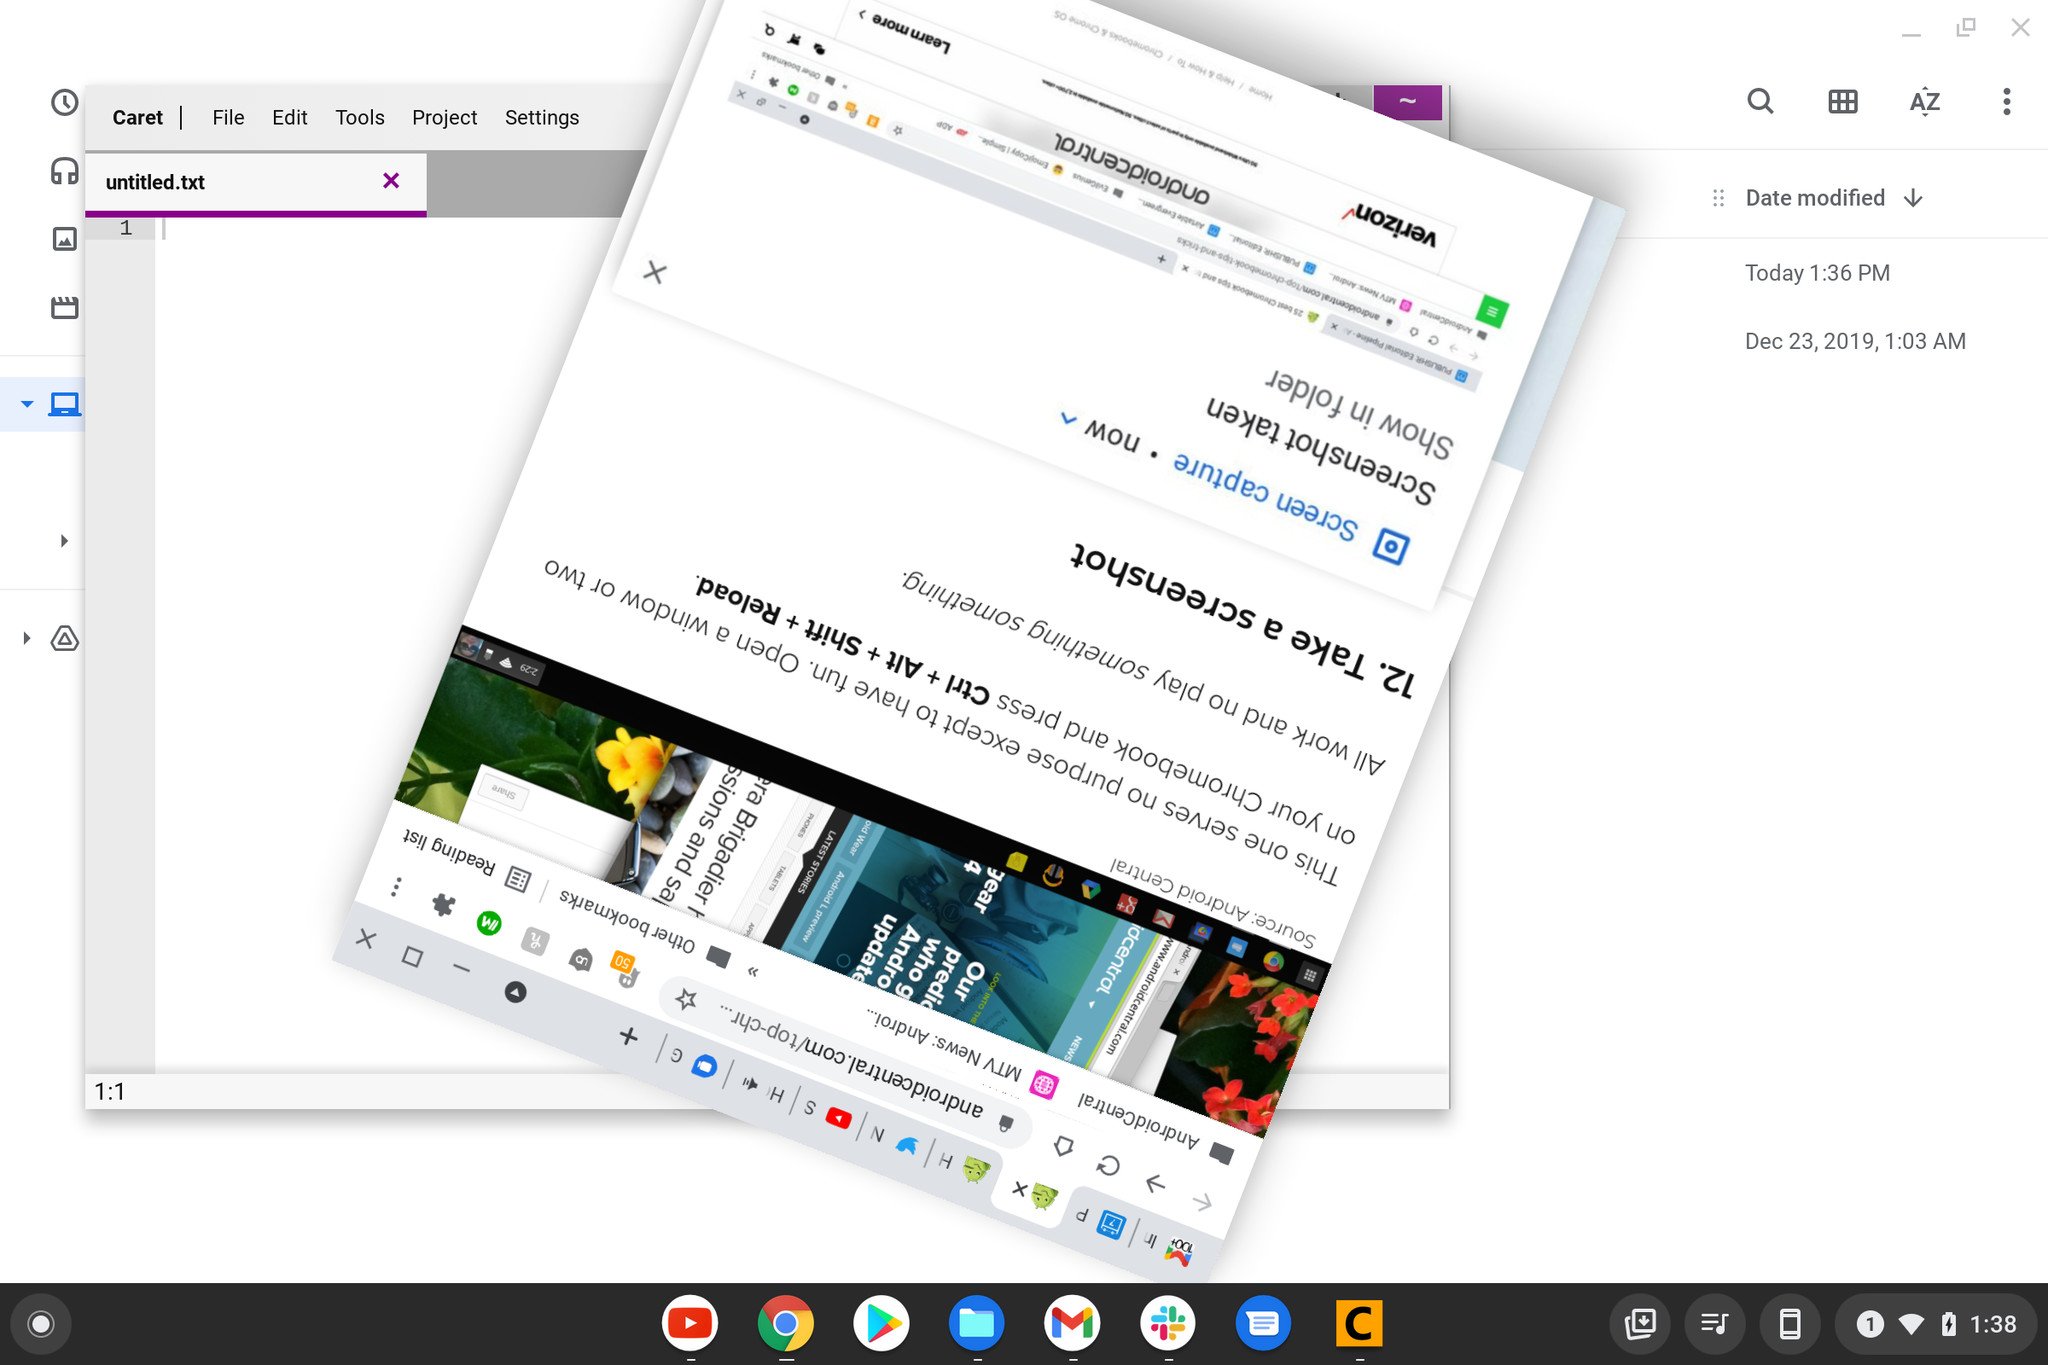
This one serves no purpose except to have fun. Open a window or two on your Chromebook and press Ctrl + Alt + Shift + Reload.
All work and no play something something.
12. Take a screenshot
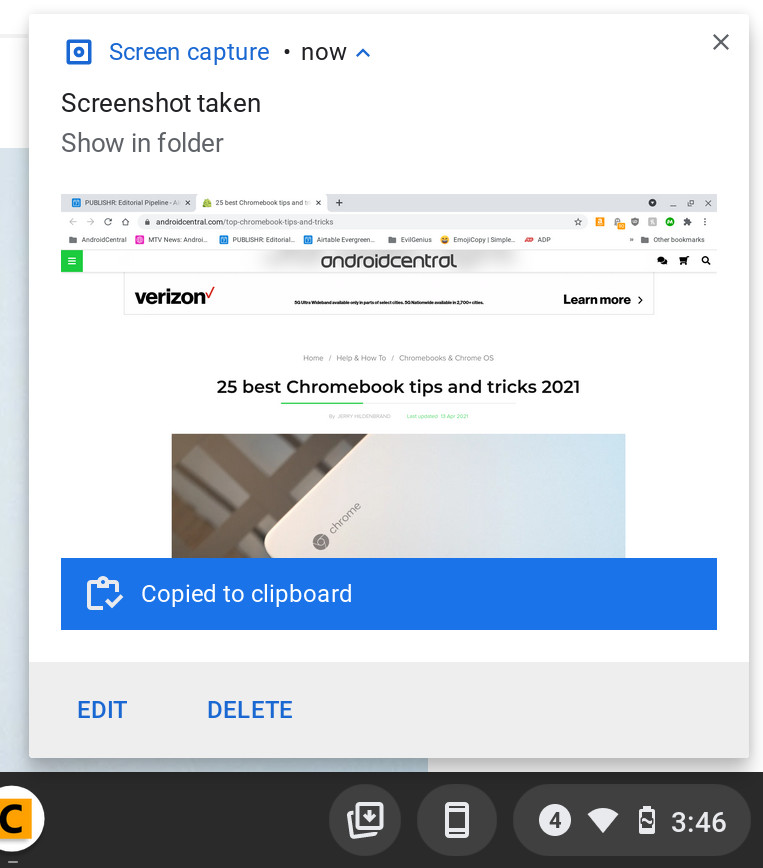
You can take a screenshot on a Chromebook just as easily as you can on any other computer. Whether you need to save a piece of information for reference or just need to help someone by showing something visually, it's extremely simple. Hold the control key and hit the task switching key []]] to capture the screen.
You'll get a desktop notification to click and view the screenshot, or you can always find it later by opening the Files app.
13. Use app shortcuts
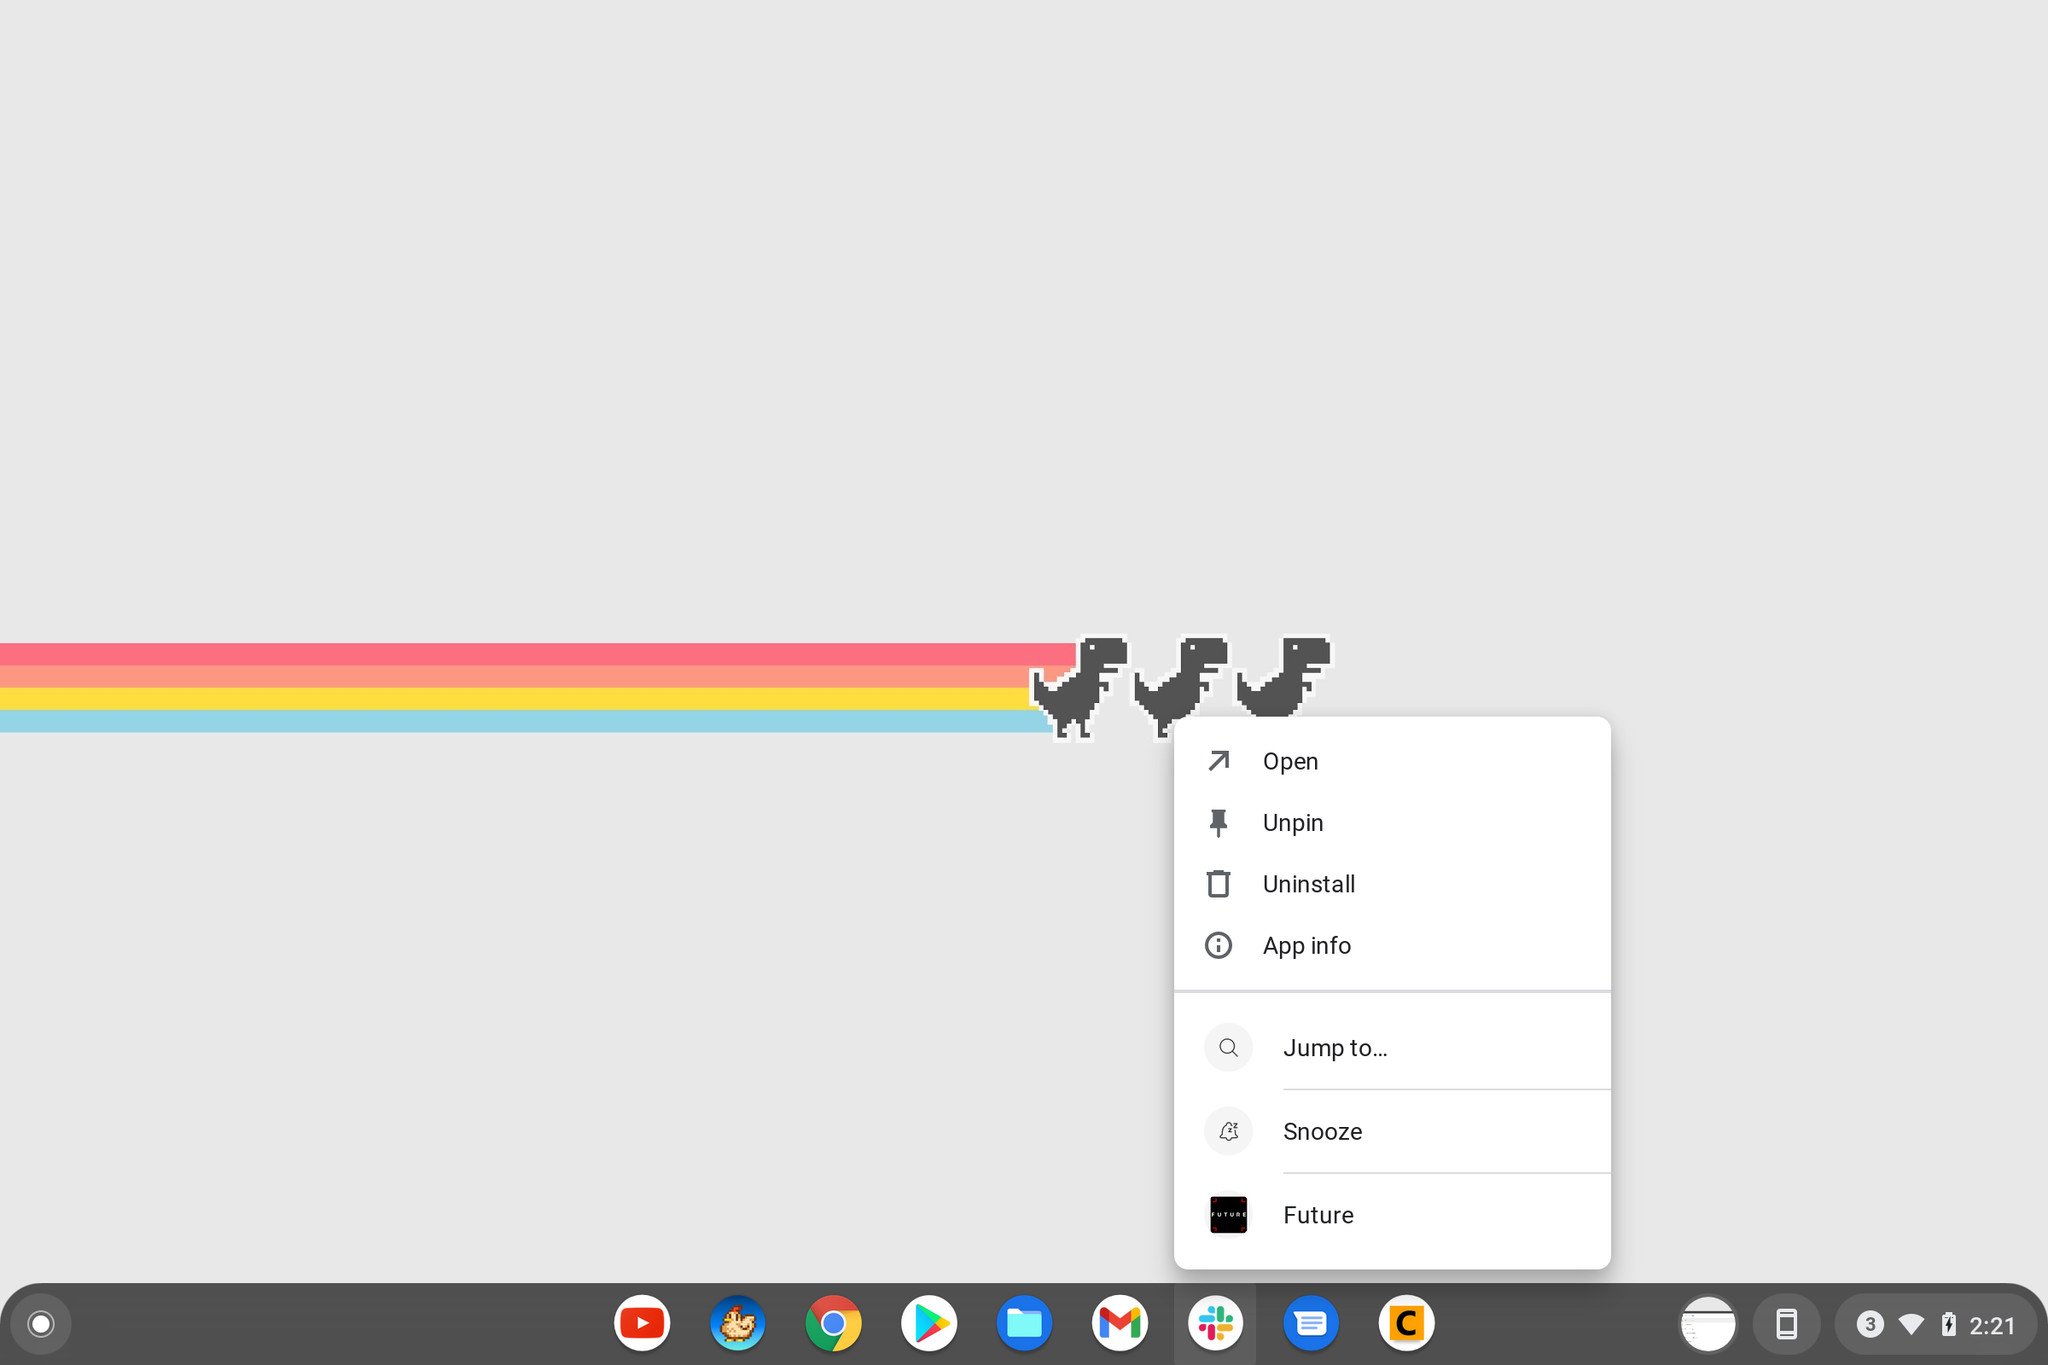
You can right-click (a two-finger tap on the trackpad) on any app on your shelf to see a context menu. Besides some system settings like removing it from the tray, you can click to use them if the app has any contextual options.
You'll find many Android apps with these options, and if you use something like a messenger, it's pretty handy.
14. See all of your nerdy system info
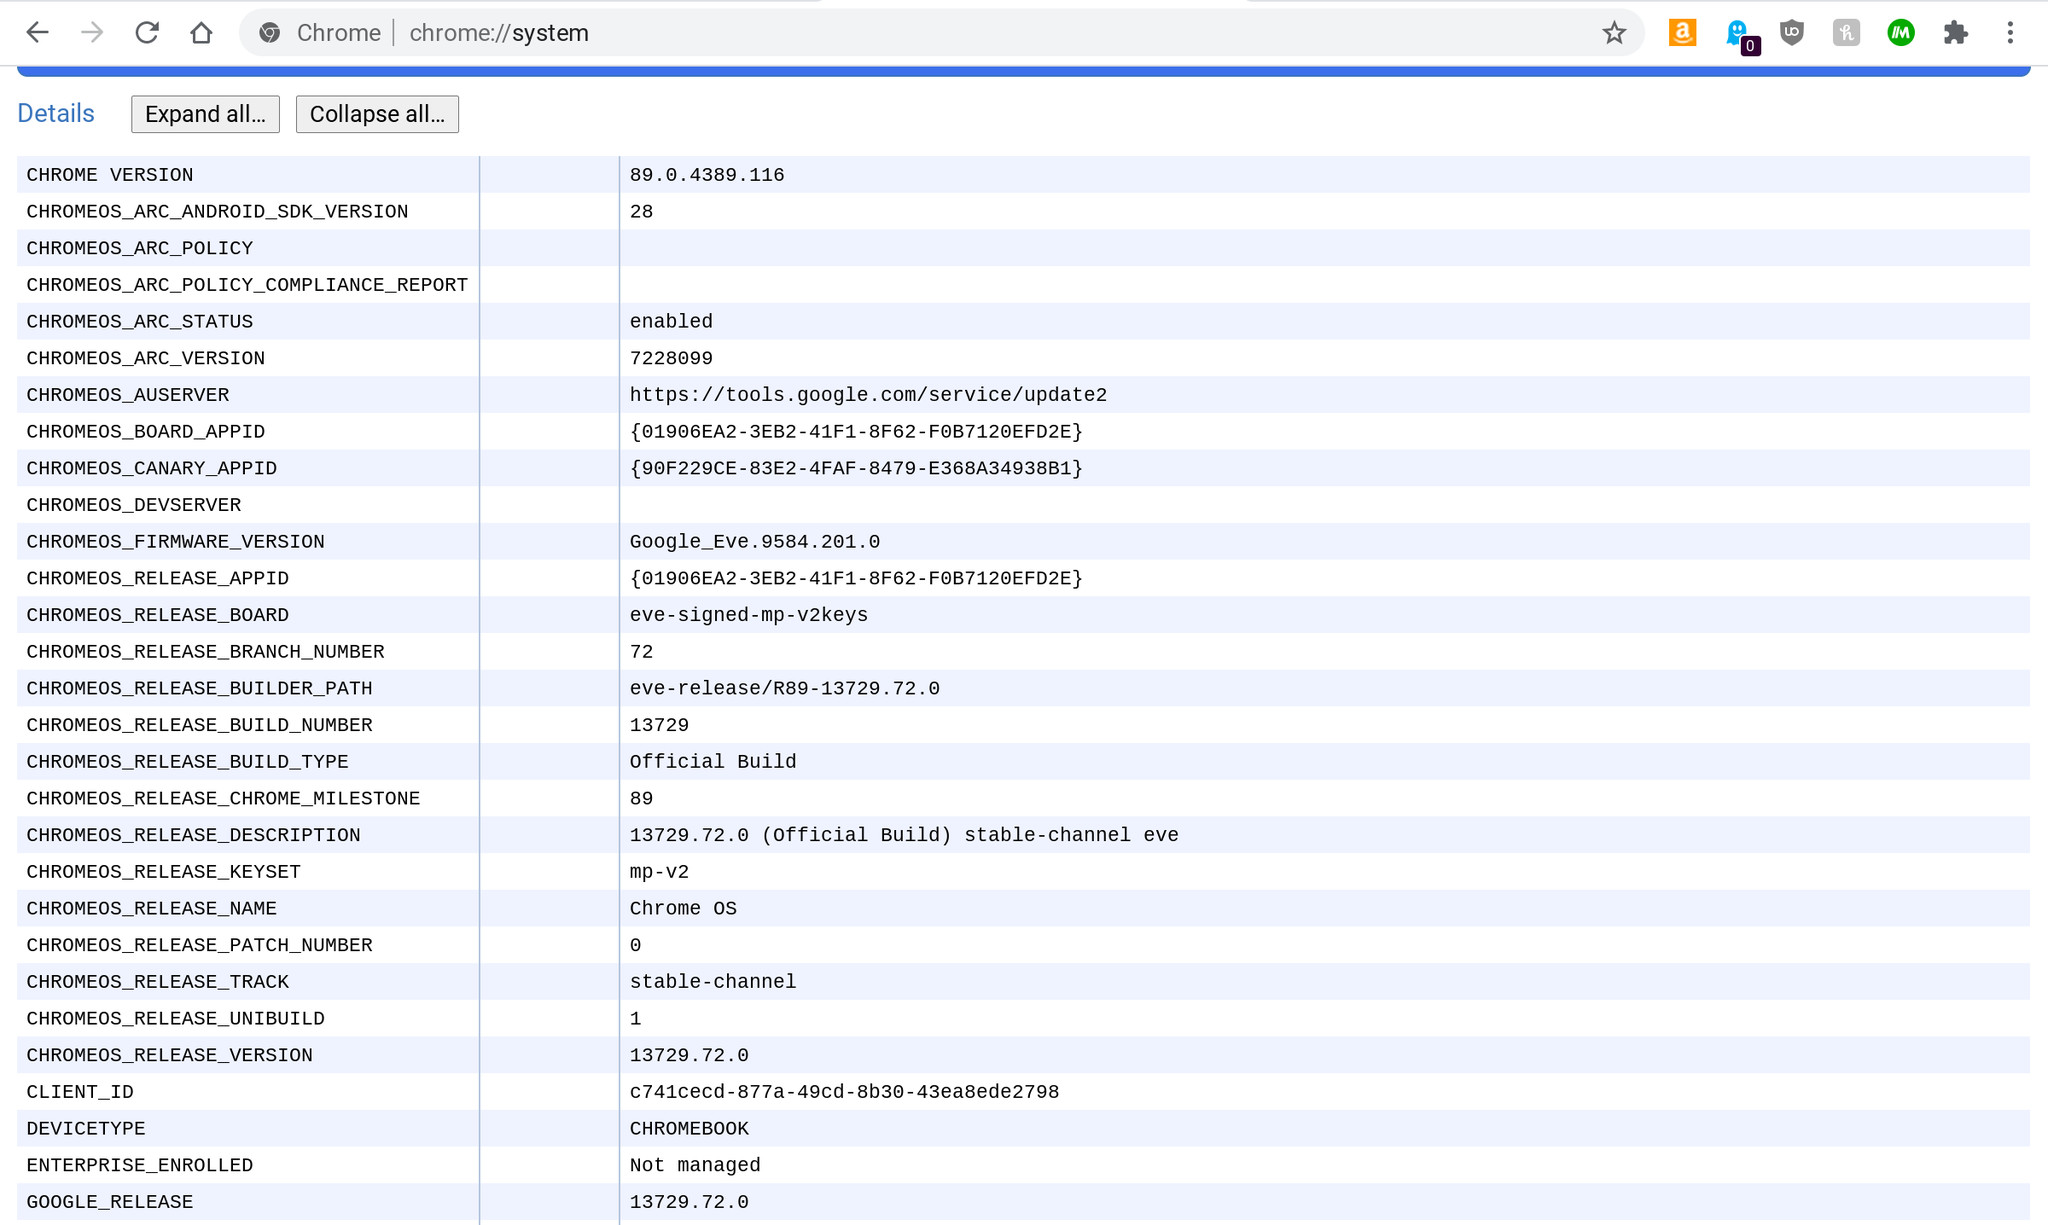
In the Omnibox, type chrome://system to see a GUI filled with system information. You'll find everything there is to know about your CPU, your memory, your current X-session, and more here. It's all laid out in an easy-to-read fashion, and you'll know everything there is to know about your Chromebook's insides.
We can't promise you'll understand everything you see in there, but whatever you need (or want) to know is given to you. Since it opens in a browser tab, searching Google for the parts you don't understand is easy!
If you'd rather see things in a graphical interface, you can install the Cog System Info Viewer Chrome app by François Beaufort
15. Use Powerwash to clean up
If you want to remove your Google account and information from your Chromebook and reset it to a "like new" state, it only takes two clicks of the mouse in the settings to use a feature called "Powerwash." First, go into your settings and search for Powerwash in the search bar, or go to advanced settings and find it at the bottom. Click the button, then confirm, and your Chromebook will reboot momentarily, looking just as it did the day you took it out of the box.
16. Open a new tab the easy way
Whenever you're in the web browser and want to open a new tab, there is an easy way to do it! While hovering over the link, use the three-finger tap gesture on your trackpad, and viola! This is much faster than right-clicking (with two fingers on the trackpad) and choosing to open the link in a new tab.
17. Learn to love the launcher
Chrome OS has a launcher just like an Android phone; it's the drawer that opens whenever you tap search or click the circular icon near the lower-left corner of the screen. And it's pretty cool.
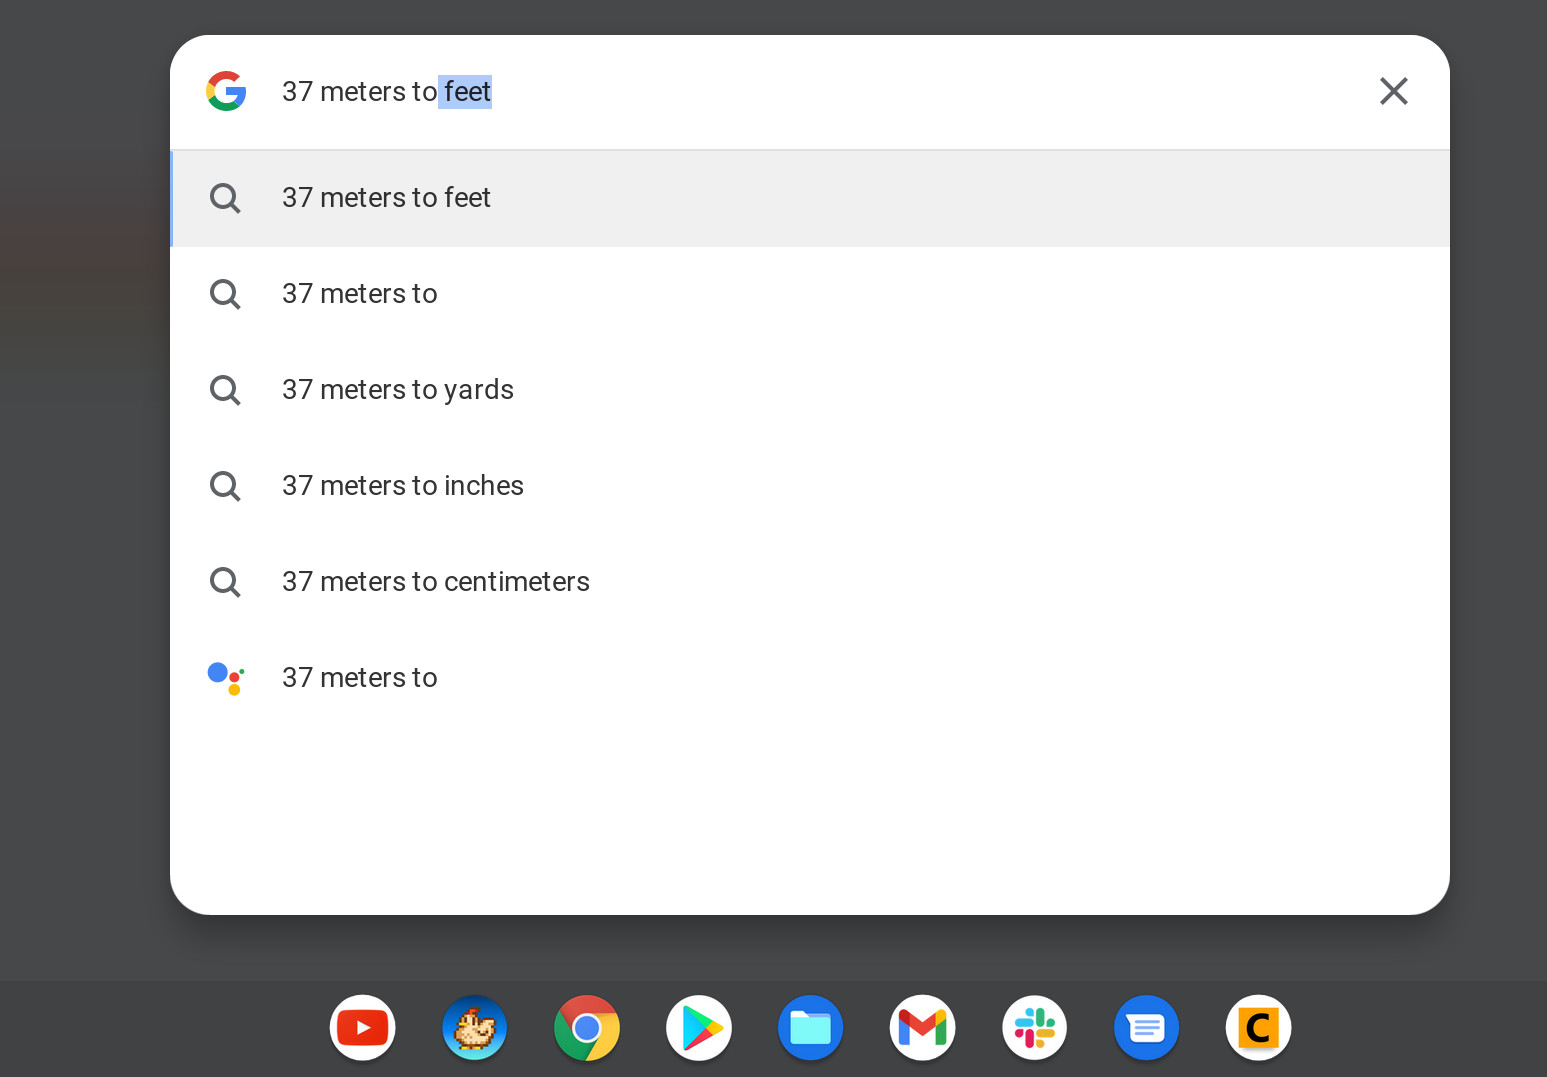
A great tip is knowing that as soon as it opens, you can start typing (just like Windows 10's win-key interface) things like, "What is 20-degrees Celsius in Fahrenheit?" or what is "112,564 times 11?" and you'll get a quick answer. You can also search through your apps or search the web. Pretty cool!
18. Quickly open your apps
You can pin any app to your Chromebook's shelf by right-clicking (two-fingers on the trackpad) its icon while the app is open and choosing it from the menu. This will leave the icon there as a shortcut even when you close the app.
You can also open these apps quickly by pressing the Alt key and the number your app is in the line. For example, pressing Alt and 2 will open the second app you have pinned to the shelf. This works for up to nine apps, and if you frequently find yourself opening an app, it's an excellent time-saver.
19. Control your open windows
While you have a window open, you can snap it to the edge of the screen using the keyboard. While the mouse cursor is anywhere inside the window, press Alt and [ to snap it to the left or Alt and ] to snap it right.
You can minimize any open window by pressing Alt and - or maximize any window by pressing Alt and =. Repeating either of these commands will revert the window to the size and position it was in before.
20. Get organized with folders
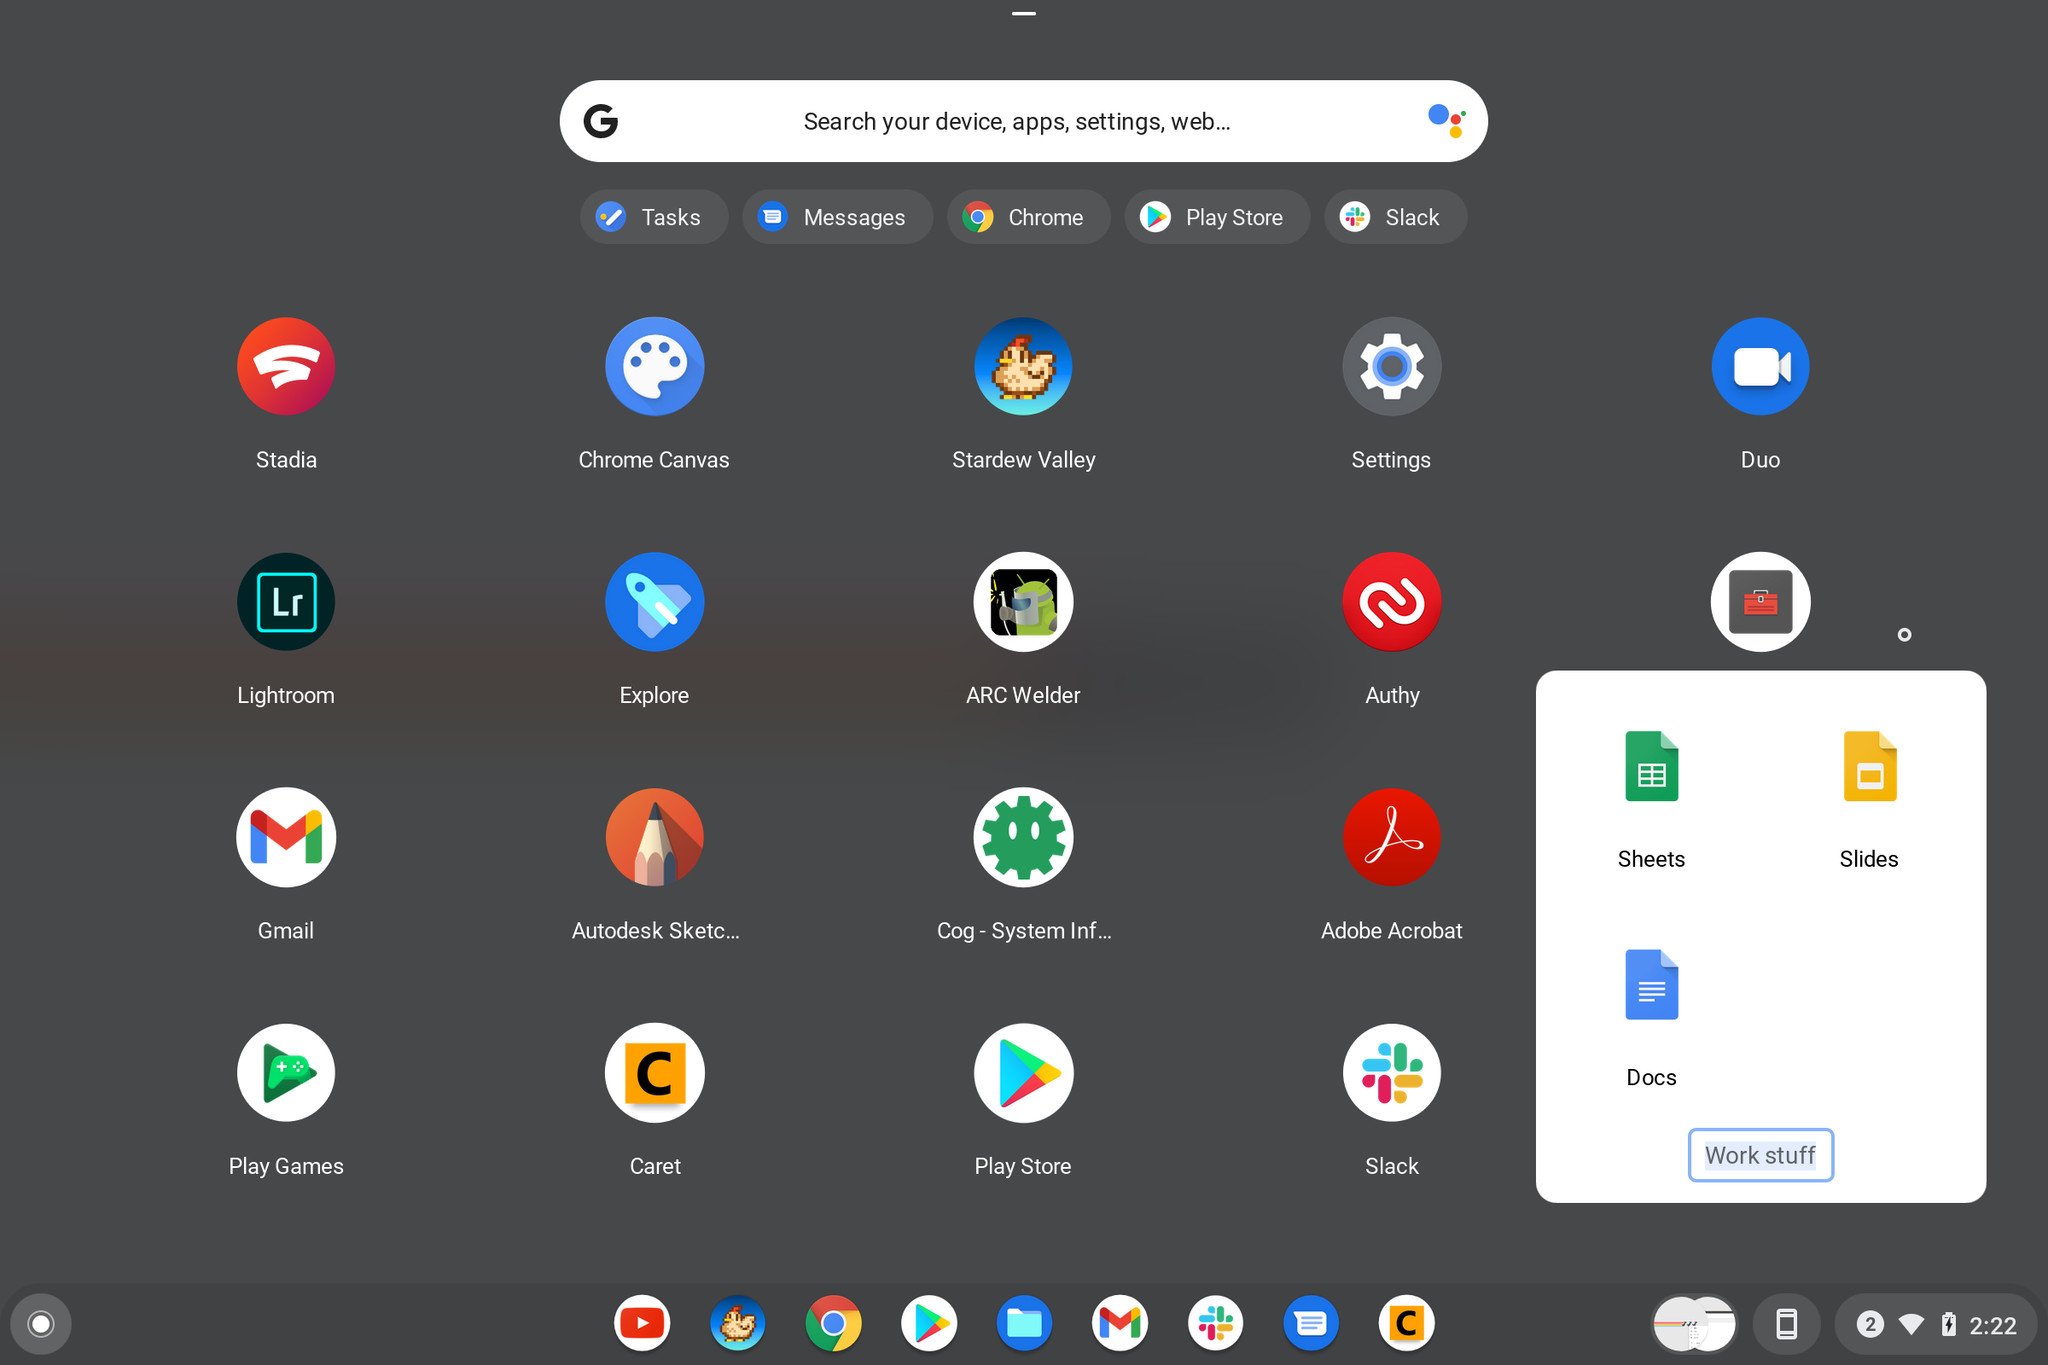
Just like the Android launcher, you can organize apps inside folders that show up in your launcher. It's convenient for keeping similar apps (or games) together.
Just drag an app's icon on top of another icon, and it will create the folder, which you can then name by clicking it and opening it. To move an app out of a folder, grab it and drag it into an empty space in the launcher window.
21. SHOUT! SHOUT! LET IT ALL OUT!
Chromebooks don't come with a Caps Lock key, but maybe you want to type a word or even a sentence in ALL CAPS for one reason or another. You could hold the Shift key, but an easier way is to turn on Caps Lock by pressing the Search and Alt keys simultaneously.
WHEN YOU'RE DONE TYPING IN ALL CAPS, PRESS THE KEY COMBO A SECOND TIME, and things will return to normal.
22. Locking things down
When you have to step away and don't want anyone fiddling around on your Chromebook while you're logged into your accounts, you can activate the lock screen by pressing Search and L. All your apps and windows are still open, but to get to anything, you'll need to sign in again.
If you need to go a step further, hitting Ctrl Shift Q twice will close all apps and sign you out completely.
23. Take control of your notifications
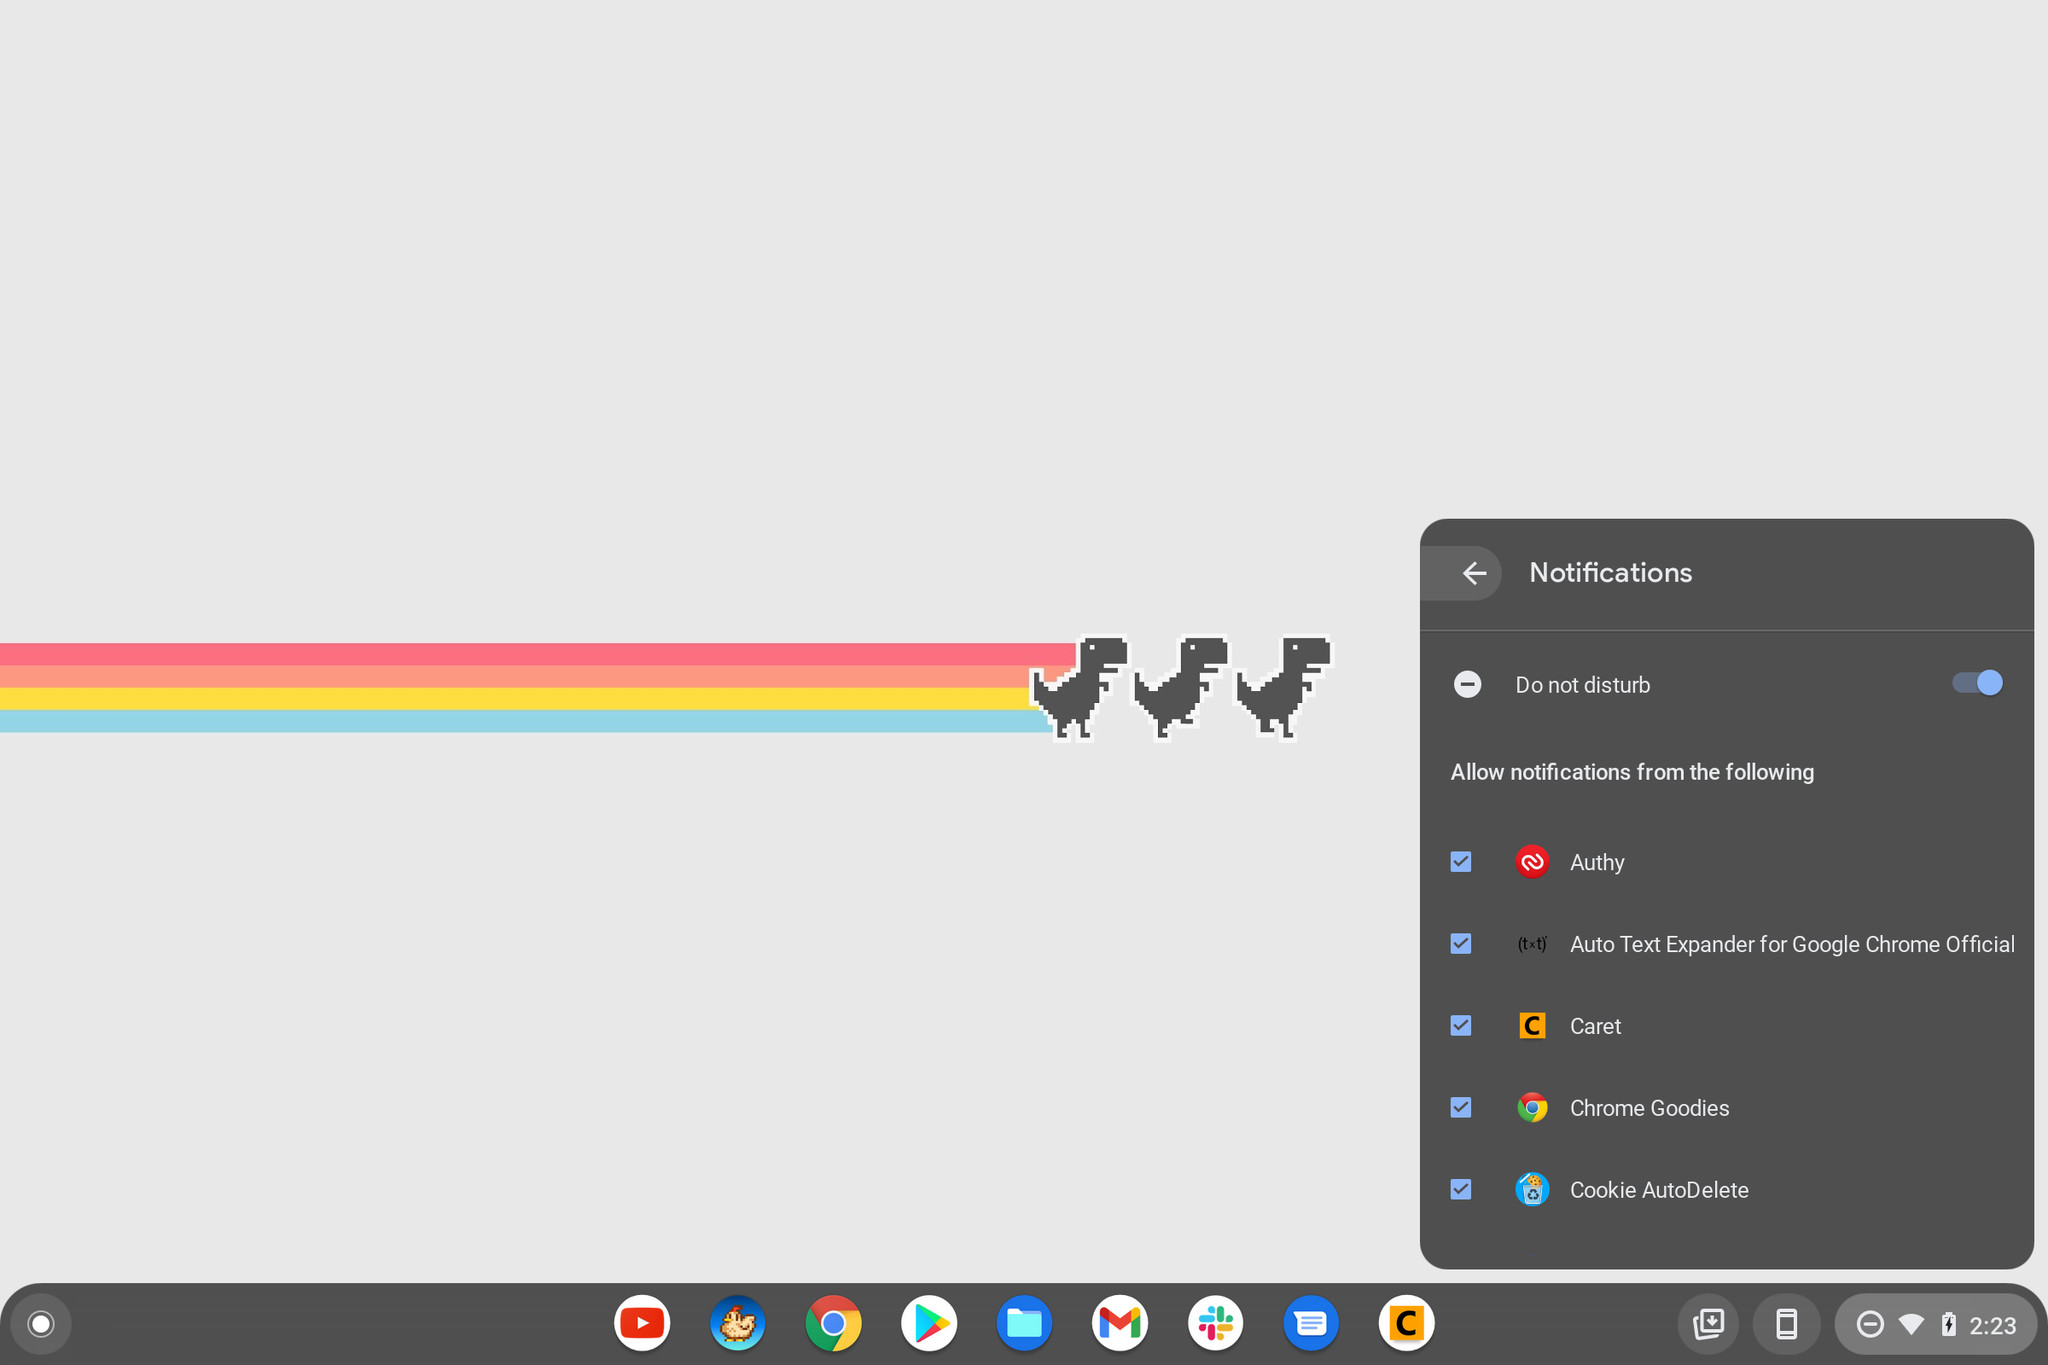
If you need all those notifications to stop bugging you so you can get something does or are just tired of them, you can put your Chromebook in Do Not Disturb mode. To do it, open the notification panel and click the icon that looks like a crossed-out circle. Then, to turn it off, just click the icon again.
For fine control over what apps can send you a notification, click the word Notifications in the notification panel. You'll see a list of apps that can send a notification. Uncheck the ones you never want to see, and you're good to go.
24. Go easy on the eyes
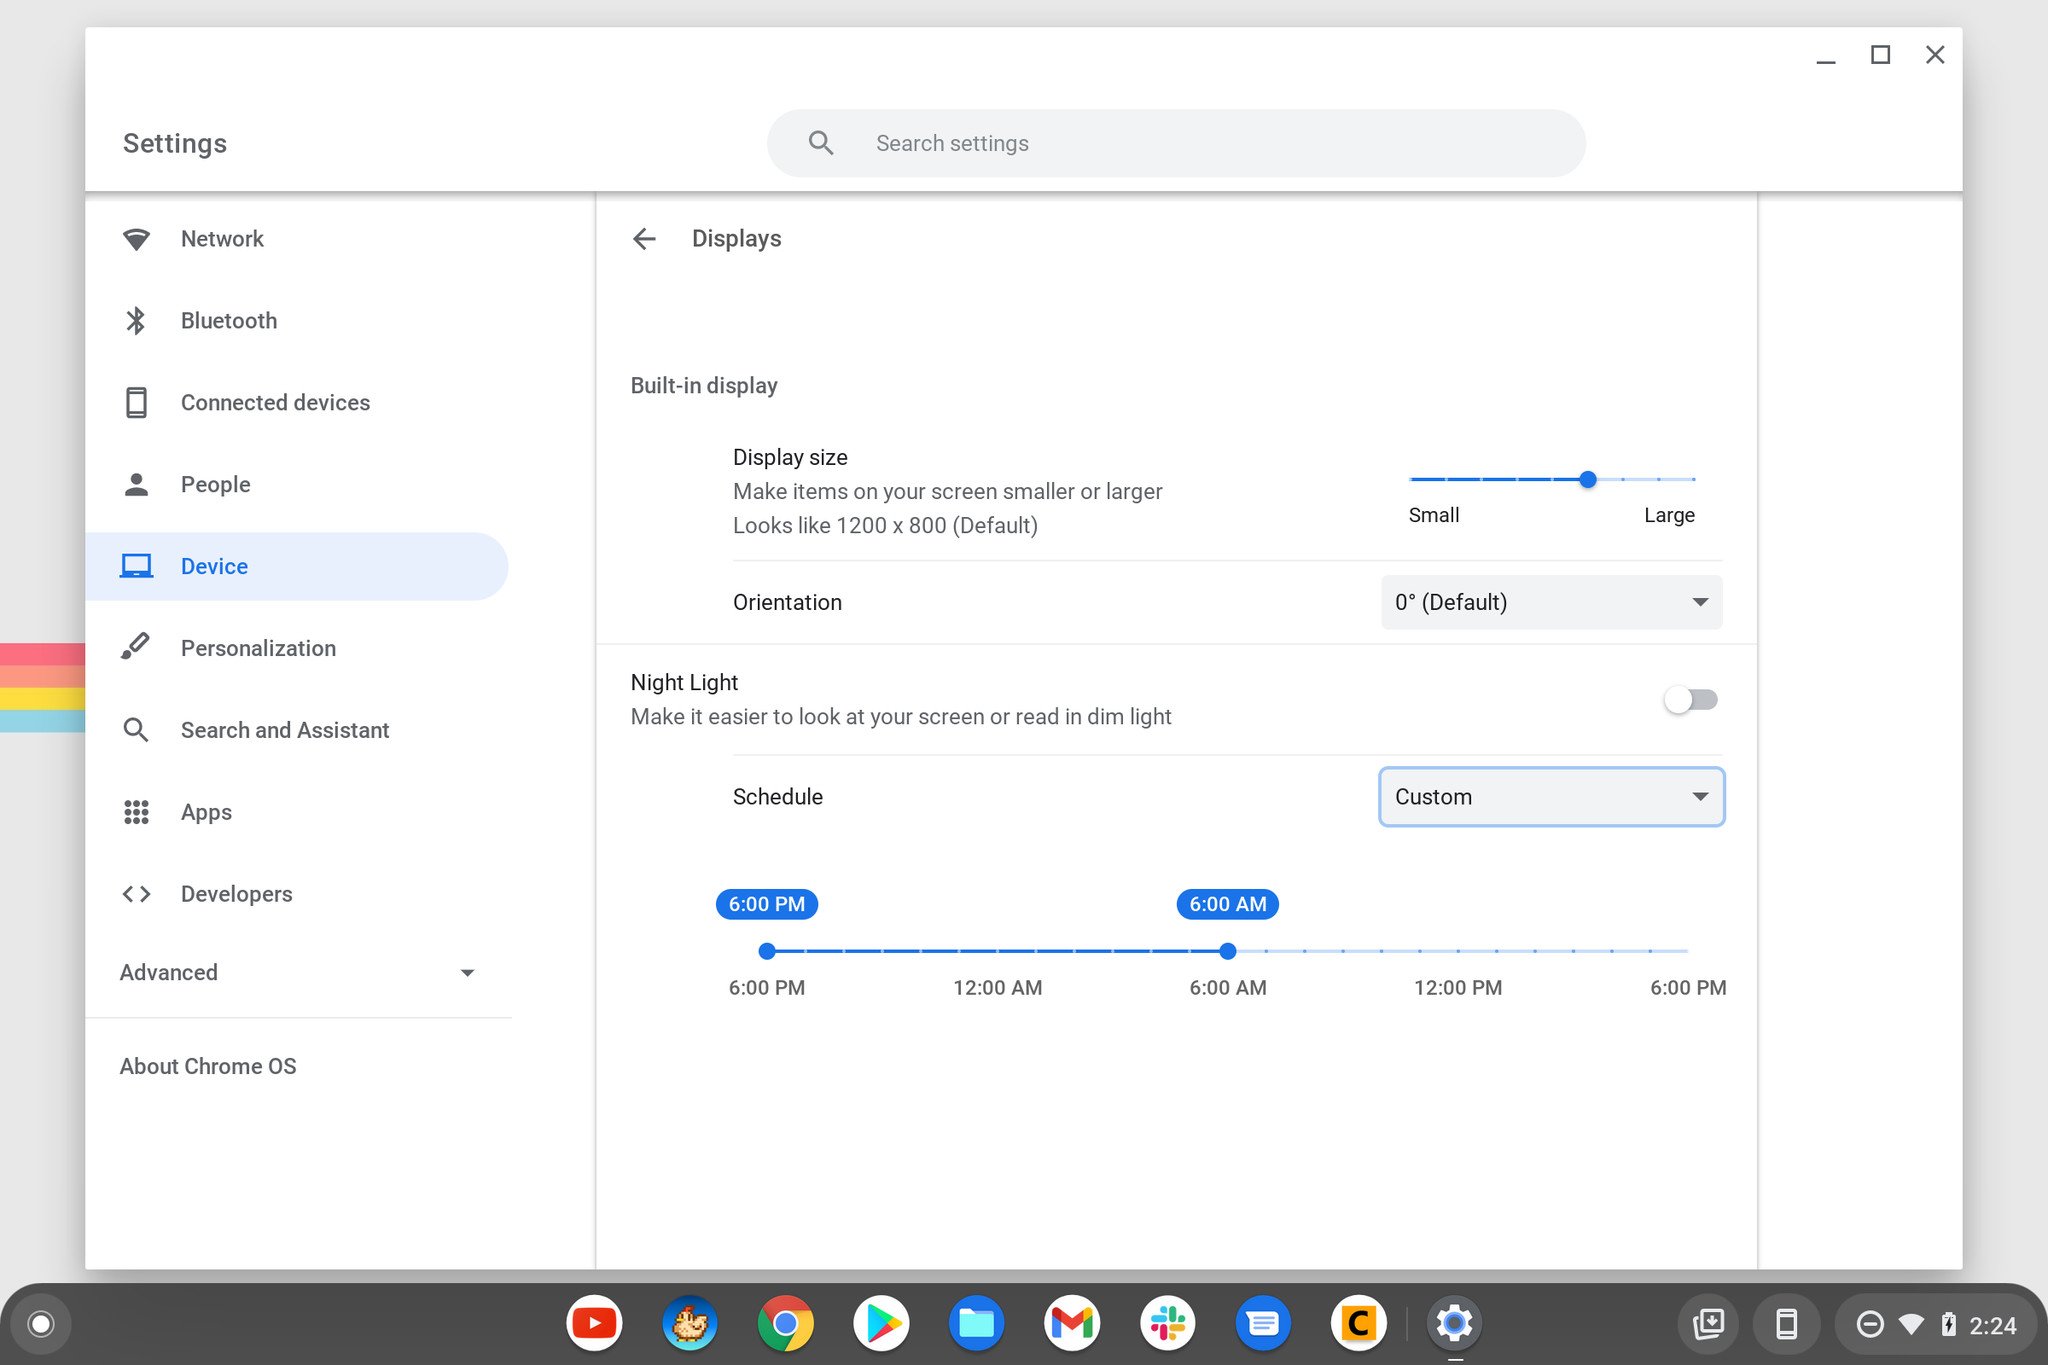
Chrome has a built-in Night Light mode that's great for when you're using your Chromebook in the dark and even the lowest brightness setting is too much. It works the same way similar features on your phone do by changing the display's color temperature (it makes whites more orange and less harsh).
To activate it, Find the Night Light button in the Quick Settings panel. You can fine-tune it a bit and set it up to automatically turn on or off based on the time of day in the Display section of your Chromebook's Settings menu.
25. Dim your keyboard, too!
If your Chromebook has a backlit keyboard, you can adjust how bright the backlighting is.
Just press the Alt button and use the brightness up and brightness down buttons on the top row to make it as bright or dim as you like.
After mastering these helpful Chromebook tips and tricks, you use your machine like a pro. You can maybe even help out another person, or two, who are getting acquainted with their Chromebook. After all, the platform is constantly adding new features, so be sure to check back as we update this article to include more ways you can continue to enjoy your Chromebook.

No comments